
Bug reporting takes time. Here’s how AI helps teams work more efficiently

QA testing is an essential part of development that aims to make sure a piece of software is built correctly. It usually involves six stages—from the requirements review to the test cycle closure.
Knowing what these stages entail is essential if you want the QA process to run smoothly and succeed.
It ensures that QA specialists and testers direct their efforts effectively and helps eliminate any bugs or issues that prevent an app from working as intended.
This article will provide a comprehensive overview of the six stages of the QA testing process, explaining what they are and their importance.
It will also offer some tips and practices to ensure they are carried out well.
Let us start by taking a look at how the app’s requirements are analyzed and reviewed.
Table of Contents
As the first stage of QA testing, reviewing the app’s requirements lays the foundation for the entire testing process—so you should make sure it’s done well.
During this stage, the QA team thoroughly examines the app’s functional and non-functional requirements and tries to ensure they are well-defined, accurate, and complete.
As functional requirements refer to the specific tasks or functions the software must perform, they are reviewed by examining the specifications that describe how the software is intended to operate and the various features it should have.

Get unreal data to fix real issues in your app & web.
On the other hand, non-functional requirements are evaluated by looking at how your company intends the product and its properties, like the app’s security, performance, and usability, to work.
Both of these types of requirements need to be thoroughly reviewed, and stakeholders need to ensure the requirements specifications have the following characteristics:
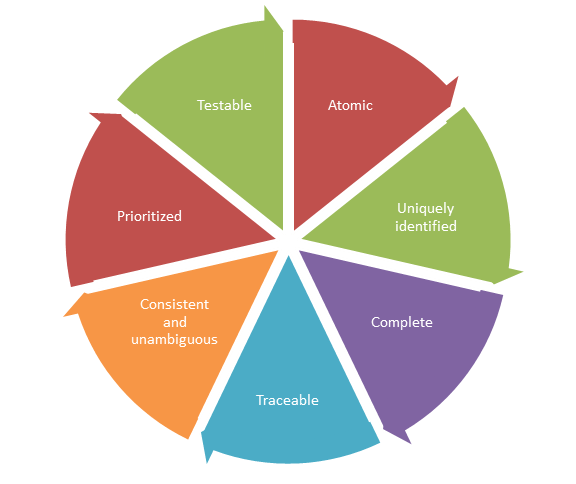
One critical aspect that needs to be considered is whether the requirements are complete—every important piece of information about each requirement needs to be noted in detail so that developers, testers, and other stakeholders have a clear understanding of what is required.
For example, consider a banking application and its login functionality. We can compare how a poorly written requirement compares with a well-written one:
| Example of a poorly-written requirement | Example of a well-written requirement |
| To log in to the app, the user needs to enter their username, password, and other authentication details. | To log in to the app, the user needs to enter:
|
As analyzing all the other aspects of the requirements is out of the scope of this article, you can read more about them here.
Overall, the requirements review process helps identify any gaps and issues in the product, and detects areas that need to be made clearer and addressed before beginning to test the application—making sure the project is headed in the right direction.
The second stage of the QA testing process is preparing the test plan—a crucial step that ensures the testing is well-organized and executed efficiently.
A test plan is a document created by the QA team that includes all the necessary information for managing the testing phase of development and serves as a roadmap—helping QA specialists and testers stay on track and keep the testing process running smoothly.
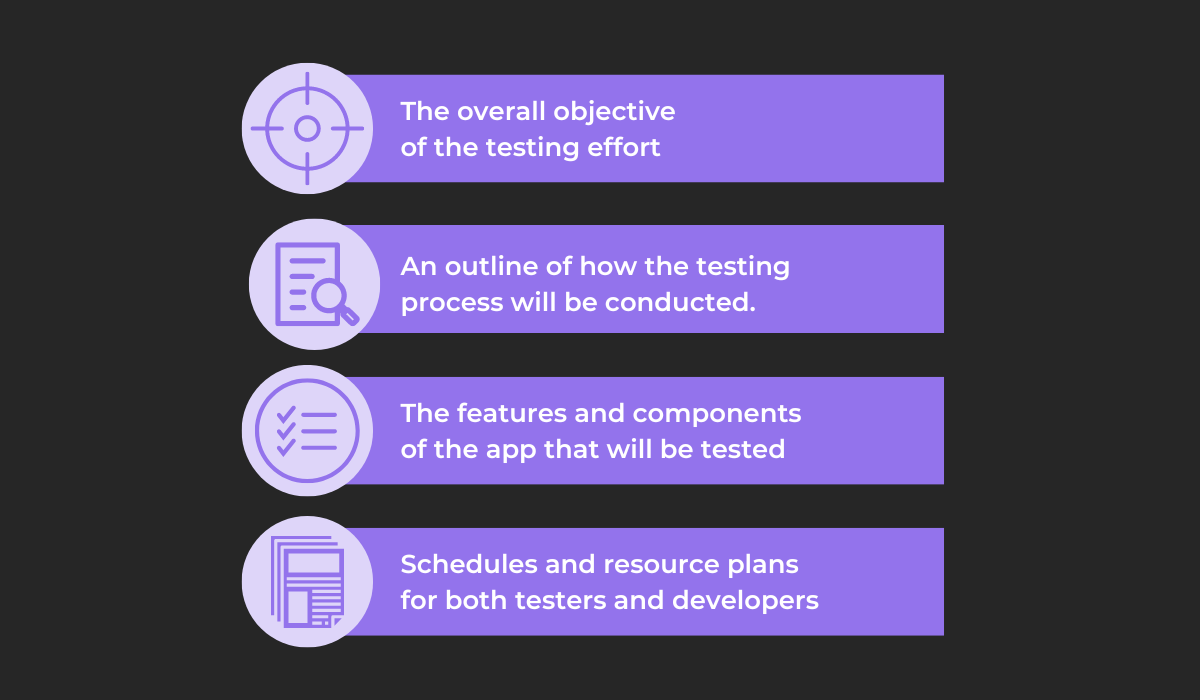
A test plan gives testers an overview of the testing process as this crucial document contains information about:
A general idea of what information a test plan contains is not enough to create one, so QA teams need to know all the various parts in it and start constructing the document step by step by creating:
For example, one crucial component of a test plan is the testing strategy—a document commonly created by test managers that defines the approach the QA team and testers will take during the testing phase of development.
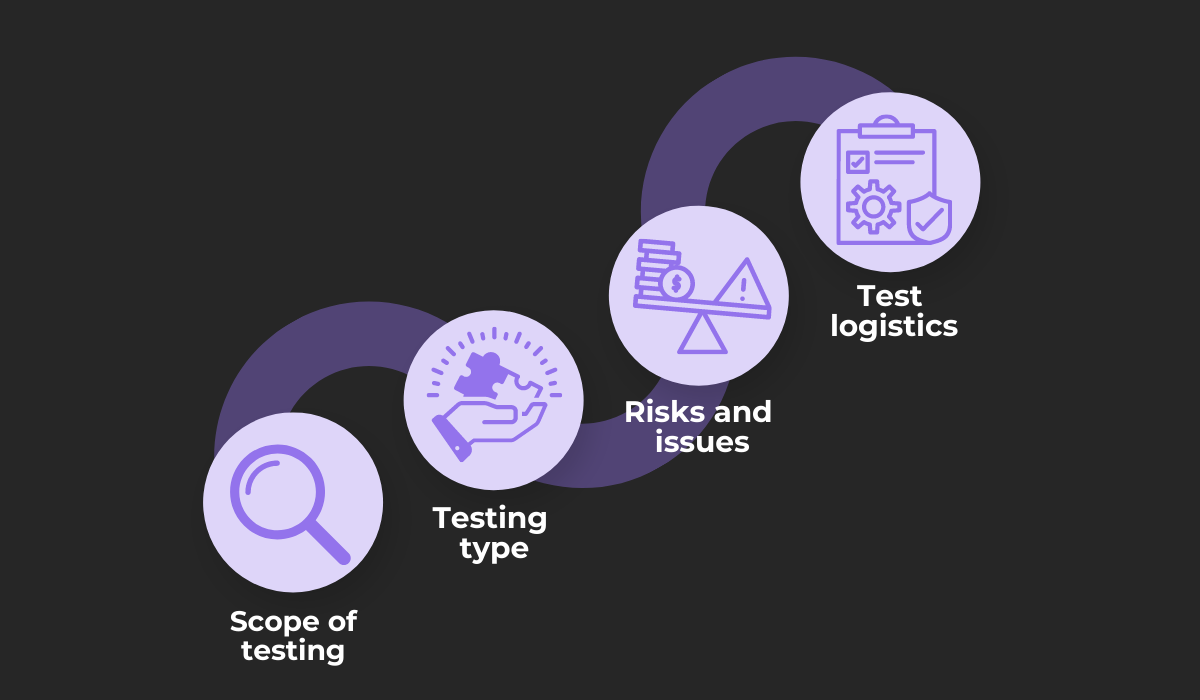
The test strategy is made at the beginning of forming the test plan. It includes the following:
These steps all build onto each other, and they define which aspects of the app will be covered in the testing phase and how the QA team will assess them—including any risks and potential issues along the way, and the specific logistics of the process.
The testing strategy is just one of the many parts of a test plan, and test managers and QA teams will do well to get a thorough understanding of all of them.
Without a test plan, the next stages of the QA testing process will be difficult or outright impossible to conduct, so it’s an important stage to cover before moving forward.
After the general roadmap of the testing process has been created, the next stage of QA testing is to create the test cases.
By providing a systematic and structured way of testing an application, test cases ensure that all possible scenarios and conditions are being considered and evaluated.
That way, they help testers detect bugs and other defects, allowing your team of developers to resolve them promptly.
For QA testing teams to write good test cases, they need to include some essential information, such as an informative description, clear steps to follow, and the expected way the app should function by following them.
By ensuring these elements are included in the test cases, QA specialists should be able to produce documents similar to the following example:
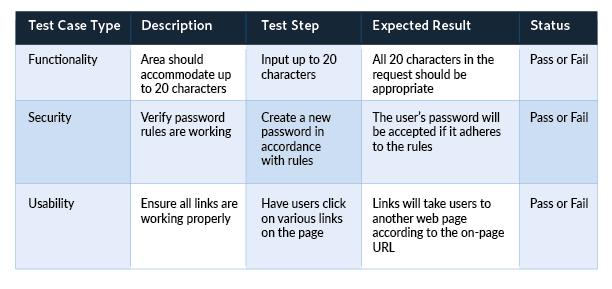
As you can see, on top of the essential parts that should always be included in a test case, this example also includes additional information, such as the test case type.
This and other pieces of information can be added as well, according to the needs of your organization.
Additionally, if you have an application that requires a lot of test cases to cover, automated testing can be performed to make this process more efficient.
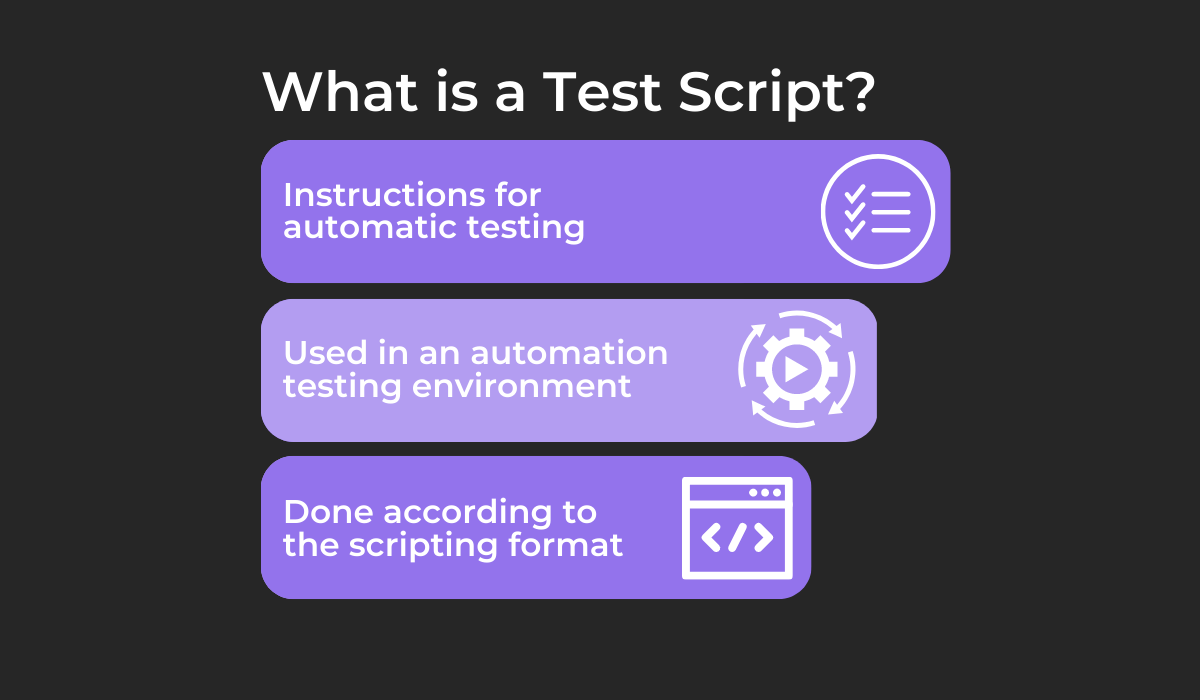
In this case, writing test scripts is required.
As test cases and scripts are sometimes confused, let’s see the characteristics of a test script.
As you can see, while a test case contains step-by-step instructions for manual testing performed by individual testers, a test script is a set of steps for an automation tool that runs tests according to the instructions provided in the script.
Overall, writing test cases and scripts is essential for verifying whether the app’s requirements are being met.
They are crucial for the success of the QA testing process as they give testers or automation tools a step-by-step guide to follow while testing the app.
Executing the tests is the next step in QA testing—a critical stage of the software development process where many issues in an app can be found and addressed.
Tests can be executed manually or using automation testing, and both these methods have their own benefits and drawbacks.
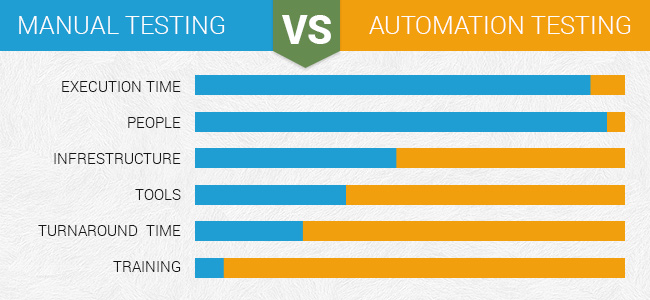
While manual testing is easier to handle as there is no need to train your team to use specialized tools for automated testing, it takes a lot of time and resources during the entire testing process. In contrast, automated testing is more difficult to set up initially but is very efficient in the long run.
Usually, a combination of both types of testing is most effective at thoroughly examining an app for bugs and other issues.
Of course, just executing the tests is not enough, as an important aspect of this stage of the QA testing process is to properly report any defects.
When a QA specialist or tester detects a bug, they need to write a comprehensive report that gives enough information about the issue to help developers work on it.
Using a bug and crash reporting tool such as Shake can help streamline this process.
Instead of having to write bug reports manually, if the tester simply shakes the device when a bug or crash occurs, Shake can gather useful data, all from within the app, and add it to the report.
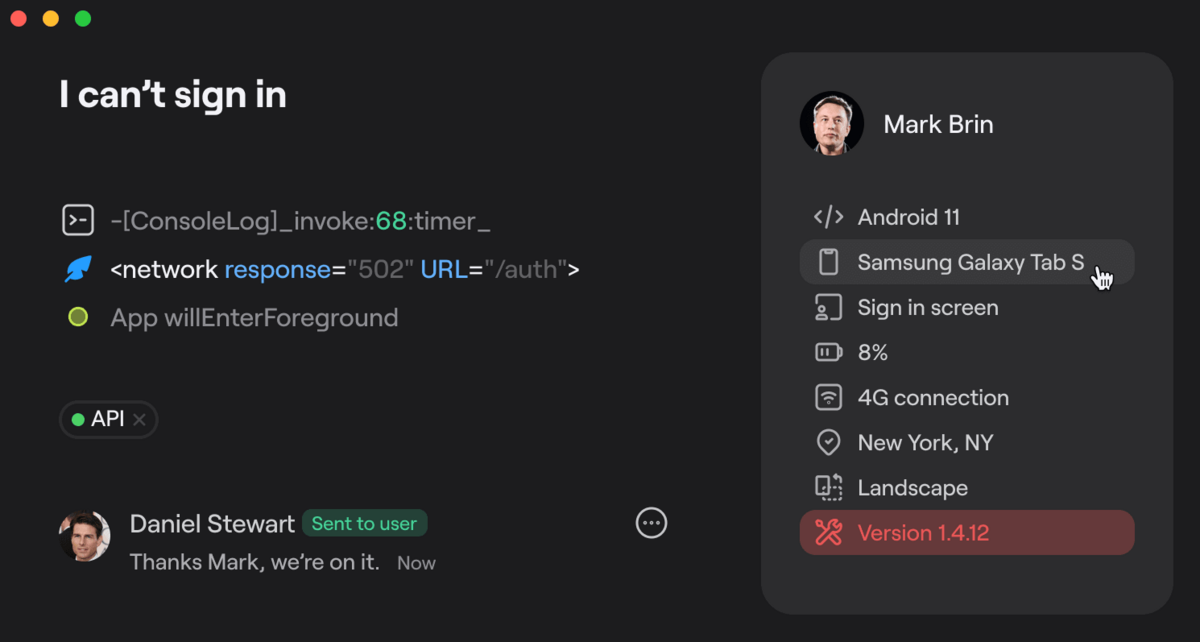
Shake includes over 70 different metrics in the bug reports. Some of these pieces of data are attached automatically, but you can always add custom data as well.
In summary, having a well-planned-out test execution phase can help your organization ensure that tests are run smoothly and efficiently, and that the testing process results are accurate and reliable.
After the bugs are properly reported and fixed by the development team, the next stage of the QA testing process is verifying these fixes.
During this stage, the tests that were executed previously are run again by the QA team, who tries to ensure that the bugs identified in the previous stages of QA testing have been fixed correctly and that the solution hasn’t negatively affected other parts of the software.
Verifying bug fixes is usually done through regression testing.
Regression testing is conducted whenever there is a change in an app’s code—for example, when new features are added to the app or, in our case, when the code is modified by developers to fix an issue.
QA specialists conduct regression testing using one of the following techniques.
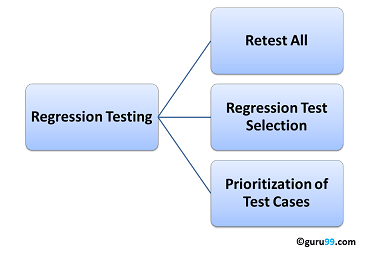
As the name suggests, in the retest all technique, all previously executed tests are run again to verify whether any changes to the system introduced new issues to once-functional features.
While this is the most exhaustive way of doing regression testing, it’s also the most time-consuming, so it’s very often automated, so as not to waste developers’ time.
With regression test selection, the QA team selects a subset of test cases from the entire test suite that covers the areas that were changed and likely to be impacted—a more efficient method than retest all, but still requiring a significant amount of effort to select the appropriate test cases.
Finally, the prioritization of test cases can be done by ranking the cases based on the business impact, the app segments they target, and their importance—a useful technique that provides a balance between efficiency and effectiveness, suitable for large systems.
All in all, a good regression testing strategy can help verify whether any changes and bug fixes were implemented as intended and didn’t cause any unforeseen issues.
The final stage of QA testing is the test cycle closure, where the QA team prepares a detailed overview of the entire process and the various conducted activities.
This stage marks the completion of the planned testing activities for the application and includes writing a test cycle closure report—a document used to assess whether the testing process went well and whether the app is ready to be released.
This report contains the following:
An important step in this stage is writing a detailed and clear test summary report which is then analyzed—determining whether the test objectives that were defined in the test plan were met.
A template of how such a document may look is shown below.
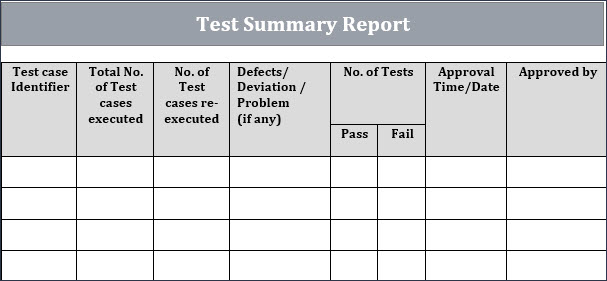
Test summary reports include a summary of all the test results, including the number of test cases executed, and the number of test cases passed and failed.
They also highlight any defects that have been found, the severity of the defects, and their status—fixed or unresolved.
After the test closure report is written, it’s then shared with the QA and development team to help identify the areas where the teams performed well, as well as the areas that need improvement—highlighting the strengths and weaknesses of the conducted testing process and helping identify best practices for future projects.
Overall, the test case closure is a crucial stage in the QA testing process that helps to wrap up the testing phase and provides valuable insights and lessons learned for future projects.
We hope that our article has given you a more thorough understanding of the different stages that make up QA testing.
As you can see, this isn’t as simple a process as you might have thought, and you’ll be wise to keep the six stages we covered in mind.
Because each stage plays a very important role in this development phase, building a well-organized QA testing process can take some time and resources, but we believe the effort is worth it in the end.
By understanding the different stages of QA testing, you can help developers and QA teams follow a well-defined structure, helping ensure your app is ready to launch in time without many issues and bugs finding their way to the end users.
From internal bug reporting to production and customer support, our all-in-one SDK gets you all the right clues to fix issues in your mobile app and website.
We love to think it makes CTOs life easier, QA tester’s reports better and dev’s coding faster. If you agree that user feedback is key – Shake is your door lock.
Read more about us here.

Add to app in minutes

Doesn’t affect app speed

GDPR & CCPA compliant

Unexpected things pop up
Just like bugs in your app or web 🐛 Fix them now with just one reporting tool.