


Bug reporting takes time. Here’s how AI helps teams work more efficiently

Key takeaways:
Launching an app is exciting, but getting people to actually download and keep using it is a different challenge.
Many development teams put a lot of effort into building their product, then realize too late that marketing needs just as much thought.
If you are preparing for a launch and are not sure where to start, this article walks you through seven tips for a successful launch.
Table of Contents
Before investing time and budget into marketing, you first need to make sure your app actually works reliably under real-world conditions.
An app that crashes, freezes, or behaves unexpectedly in production will undermine any marketing effort, no matter how well-planned.
And users are not forgiving about this.
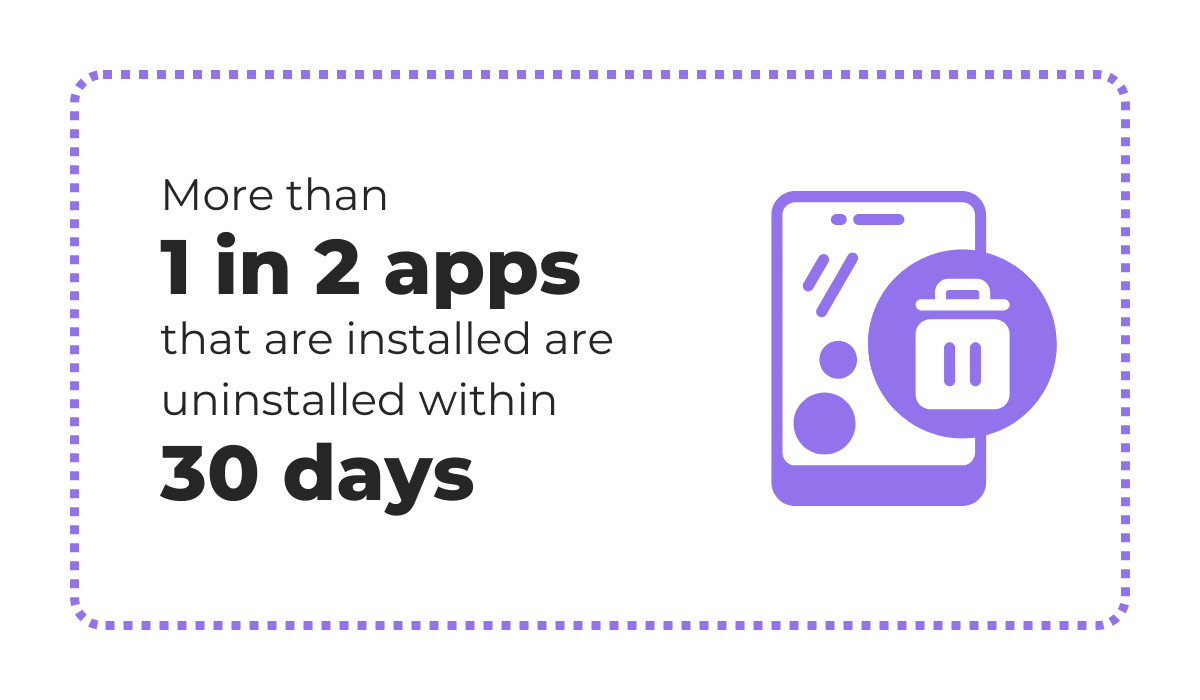
According to AppsFlyer’s 2025 uninstall benchmarks report, more than half of all apps they tracked got uninstalled within 30 days.
That’s a significant number, and a large portion of those early uninstalls are tied to poor performance and unmet expectations.
This is why validating stability before launch is so important, and one of the most effective ways to do so is through beta testing with real users.
As Mir Ujkani, customer success and support manager at BetaTesting, writes, testing your app in a controlled environment during development is not enough.
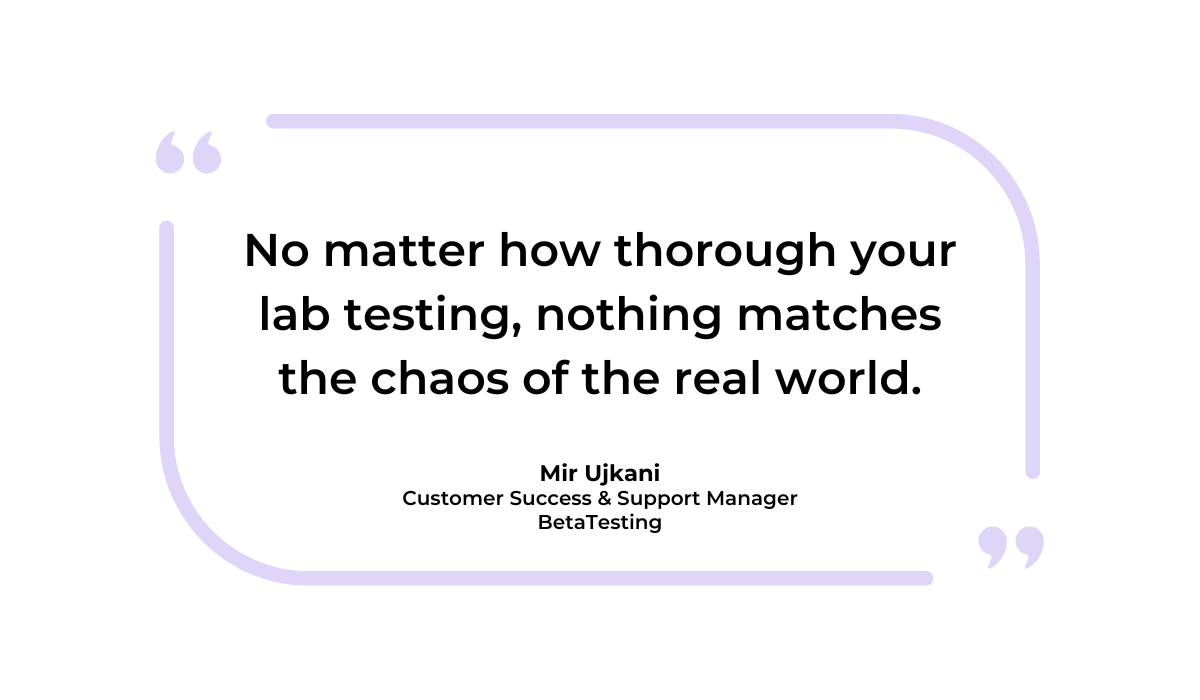
He elaborates that beta testing exposes the app to real devices, real network conditions, and real usage patterns that internal testing simply can’t replicate.
It helps surface edge cases and issues that would otherwise only appear after launch, when the damage is already done.


Get unreal data to fix real issues in your app & web.
Of course, beta testing is only useful if the bugs and crashes that testers encounter actually get reported and resolved.
This is where a tool like Shake comes in.
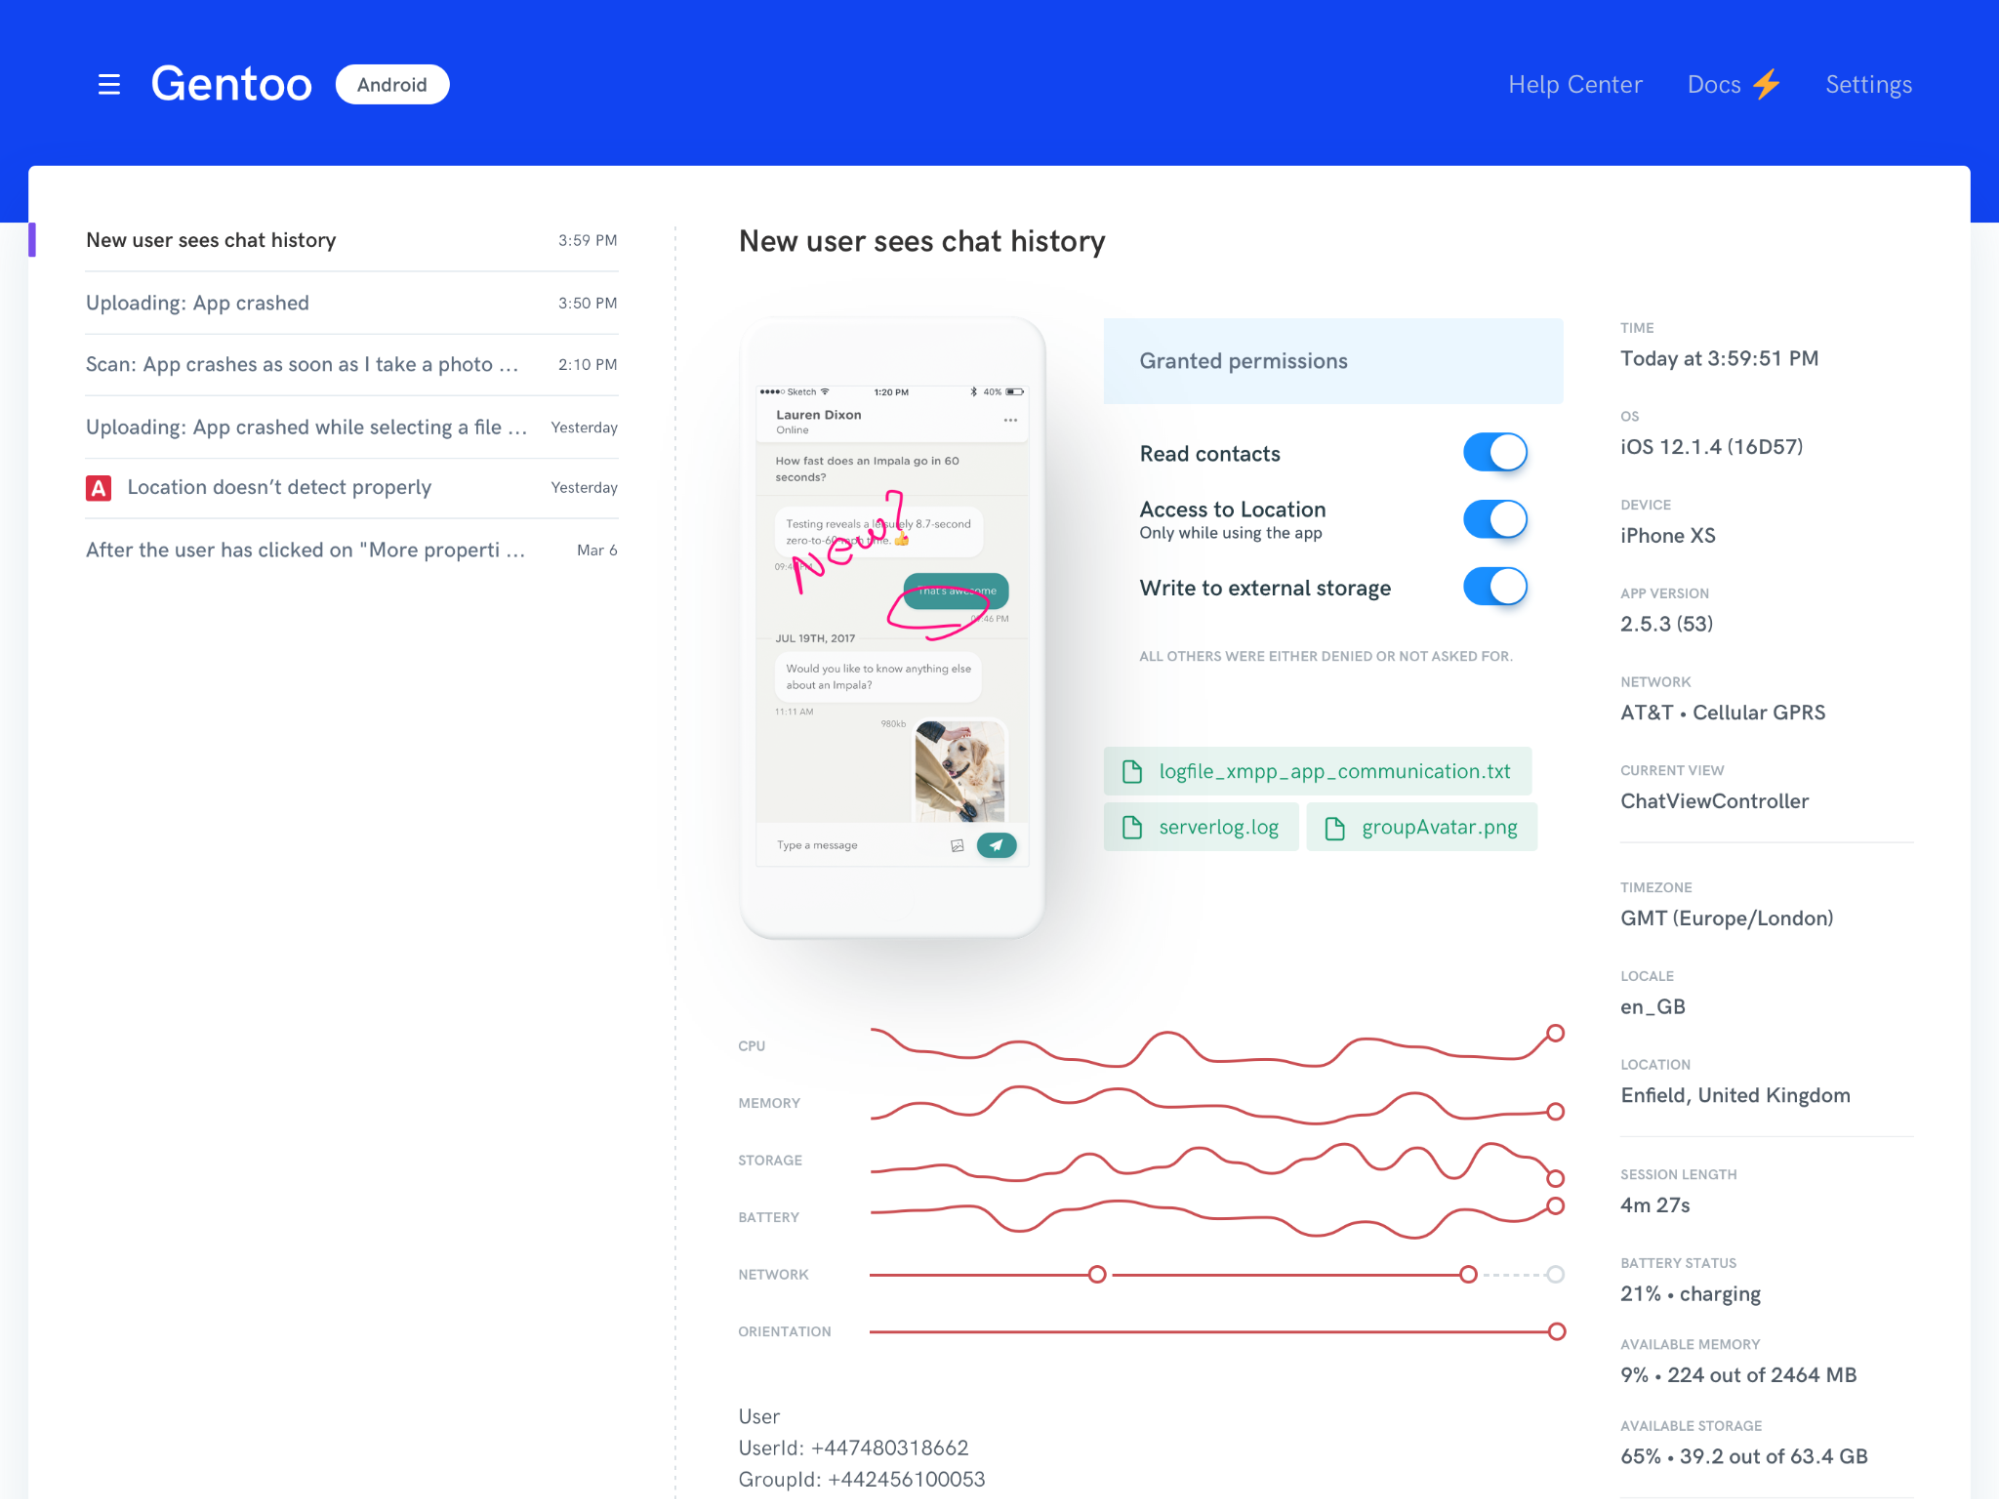
Shake is a bug and crash reporting tool that integrates directly into your app, allowing QA and beta testing teams to report bugs quickly.
Importantly, each report automatically includes detailed technical data like device info, activity history, console logs, and screenshots, giving developers all the context they need to start debugging.
The result is a much more efficient feedback loop.
Testers report on issues without leaving your app, reports arrive with all necessary context, and your team can ship major fixes before the official app launch.
This first step is what everything else builds on, and no amount of marketing can compensate for an app that doesn’t work.
Once your app is stable, the next step is to get clear on what makes it different from everything else already in the store.
This might sound obvious, but many teams jump straight into marketing without first defining their unique value.
After all, without a clear reason for someone to choose your app over an established alternative, your marketing messages will blend in with everything else.
A useful framework for thinking about this is the Unique Selling Proposition (USP).
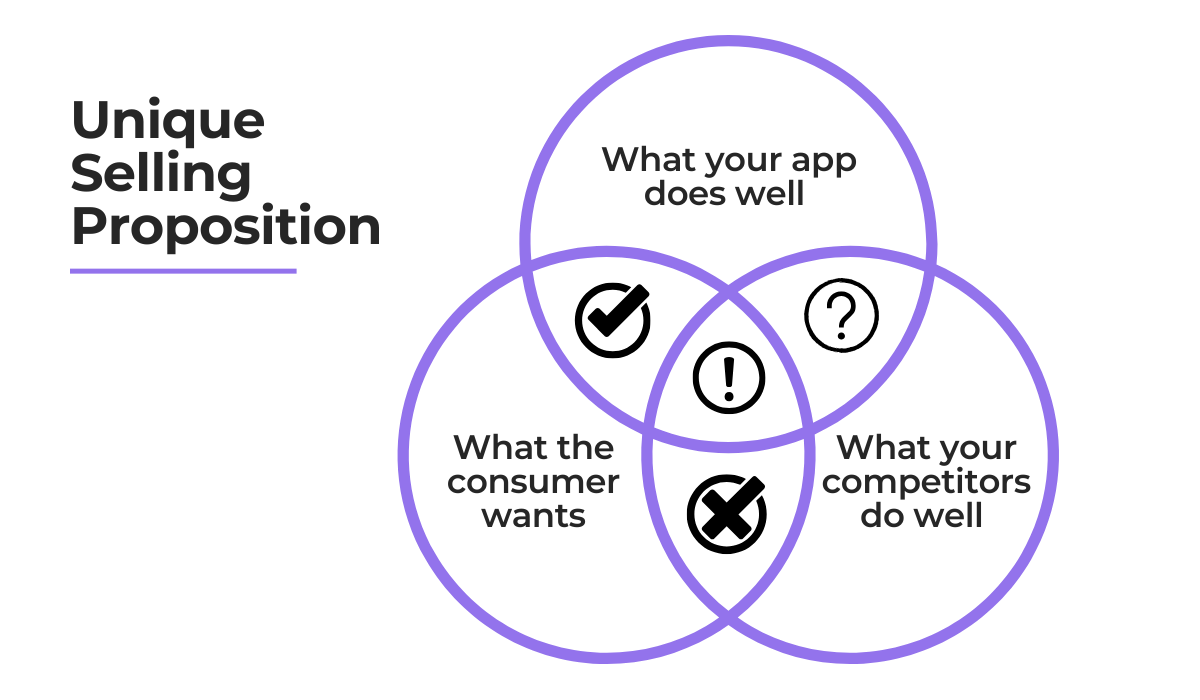
Essentially, your USP sits at the intersection of what your app does well, what the consumer wants, and what your competitors don’t offer.
What you want to avoid is marketing what your app doesn’t do well, or simply following competitor trends and ignoring consumer needs.
For some USP examples, look at the most popular apps and products out there.
If done right, their USP should show up in all the brand’s messaging throughout their website, App Store listings, and marketing copy.
After defining your USP, you can go even deeper and think about “Jobs to Be Done” (JTBD), which are specific problems that users are trying to solve with your app.
For example, say you’re building a meal planning app.
Following the JTBD framework, you would map out the following customer needs:
| When… | I want to… | So I can… | And I can feel… |
| I don’t know what to cook for the week | browse and pick recipes in one place | have a clear plan before shopping | in control and less stressed |
| I’ve chosen my meals | auto-generate a shopping list | buy exactly what I need, nothing more | organized and prepared |
| I’m cooking | follow a step-by-step recipe view | complete the meal without mistakes | calm and capable in the kitchen |
As you can see, JTBD follows the user’s pain point and motivation, along with their desired outcome and feelings.
This kind of thinking helps you position your app around real user needs rather than a list of features.
It also makes it easier to write compelling app store descriptions, ad copy, and landing pages because you’re speaking directly to the problem the user is trying to solve.
It’s important to define what success looks like for you before an app launch.
In fact, Nikolas Vogt, ex-Growth Lead at Google and founder of Growth Academy, explains that the most successful tech companies start by answering this very question.
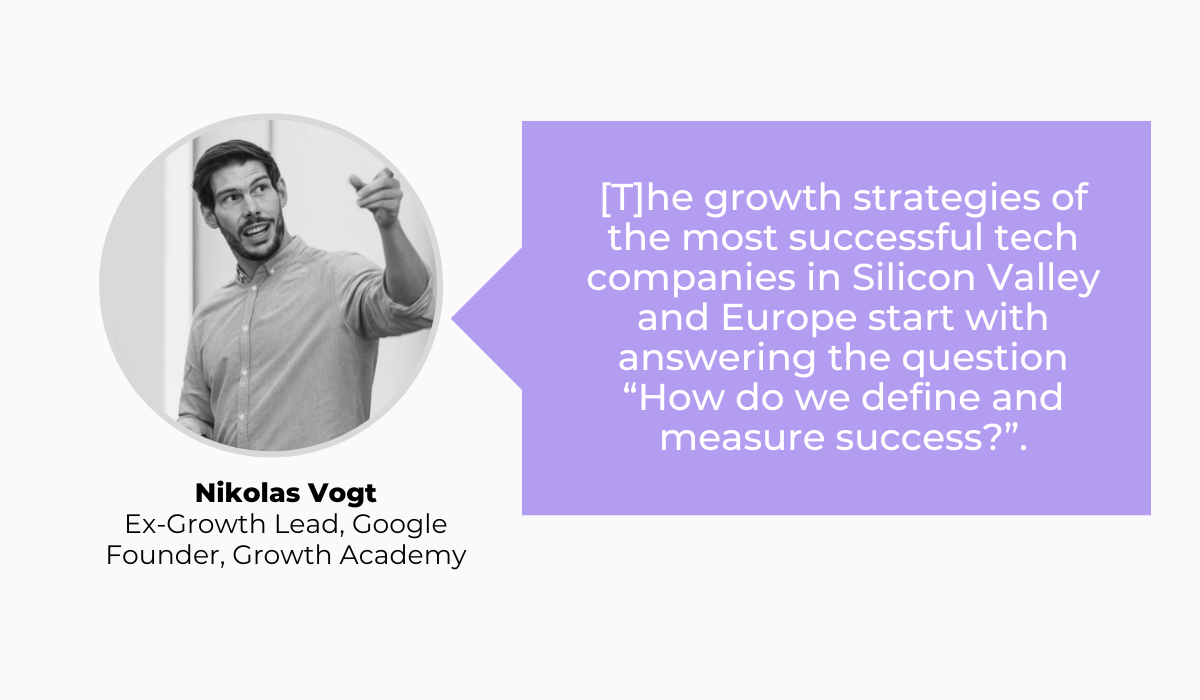
When defining goals, it’s tempting to measure downloads alone, but download numbers only tell you how many people tried the app.
They say nothing about whether those users found value in it or stuck around.
One approach Vogt recommends is defining a North Star Metric (NSM), which is a single metric that captures the core value your product delivers.
As you can see, a good NSM ties directly to the actions that signal users are getting real value from your product.
Of course, a single goal is not enough on its own, and you’ll need other measurable goals.
These can be input metrics, which measure specific user behaviors like onboarding completion, and output metrics, which reflect broader outcomes like 30-day retention or active users.
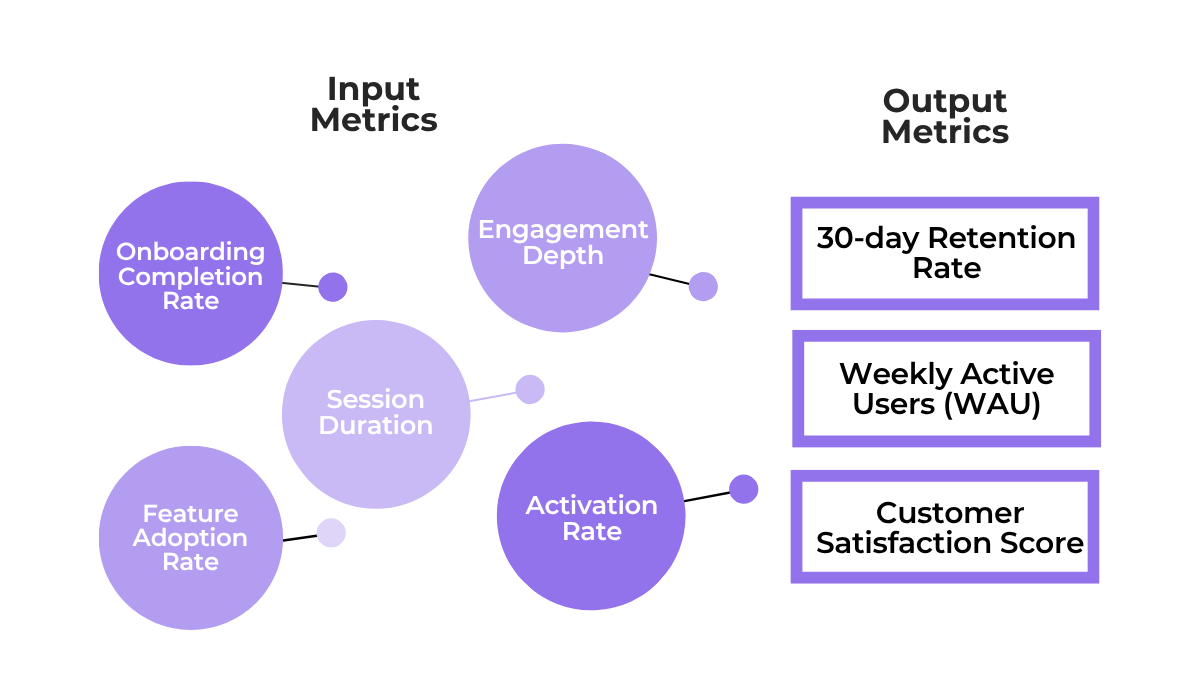
Simply put, input metrics tell you where to act, while output metrics tell you whether those actions are working.
Tracking both from day one gives you a baseline to measure against as your app grows.
A large portion of app discovery happens through search within the app stores themselves, which makes App Store Optimization (ASO) one of the most cost-effective ways to drive organic installs.
ASO is essentially the process of optimizing your app’s listing so that it ranks higher in search results and converts more visitors into downloads.
Getting this right before launch can have a lasting impact on discoverability.
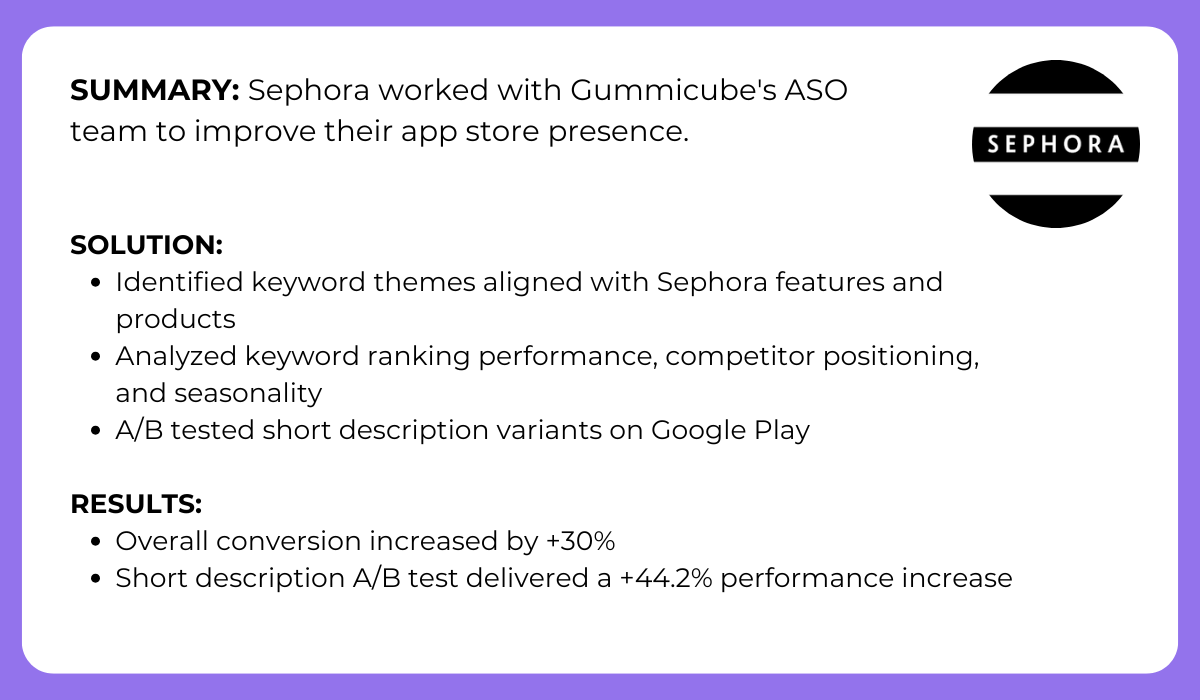
A good example of ASO done well comes from Sephora, which worked with Gummicube’s ASO team to improve its app store presence.
With a thorough messaging strategy and a lot of A/B testing, the Gummicube team delivered a substantial increase in conversions for Sephora, along with much better performance from their app description copy.
To give your own listing the best chance, there are several key elements you should optimize before launch, as shown below.
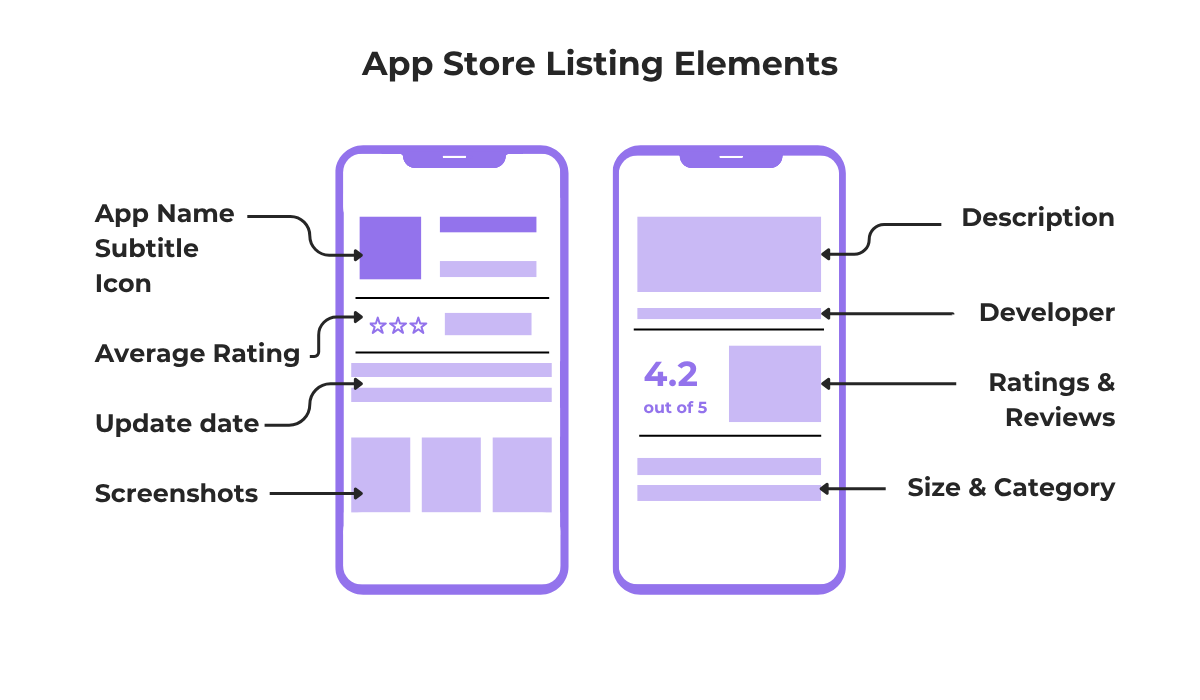
Of course, going over each of these is beyond this article, so we encourage you to explore some more.
Ultimately, each of these elements will play a role in either visibility (how easily users find your app) or conversion (whether they actually download it once they see the listing).
Getting both sides right is what separates a listing that generates consistent organic installs from one that gets buried.
If you want press, bloggers, or partners to write about your app, you need to make it easy for them.
A well-prepared media kit removes the friction by putting everything they need in one accessible place.
A media kit, as well as the related press kit, is a collection of assets and information that third parties can use to accurately represent your app and brand.

Capture, Annotate & Share in Seconds with our Free Chrome Extension!
At a minimum, it should contain the following elements:
The key is to think of your media kit as a self-service resource.
Journalists and creators are busy, and if they have to email you for a logo or chase down a correct description, they’ll likely move on.
Having everything ready and accessible shows professionalism and increases your chances of getting coverage.
A good example of this in practice is Klarna’s press page, which organizes all brand assets clearly and makes them easy to download.
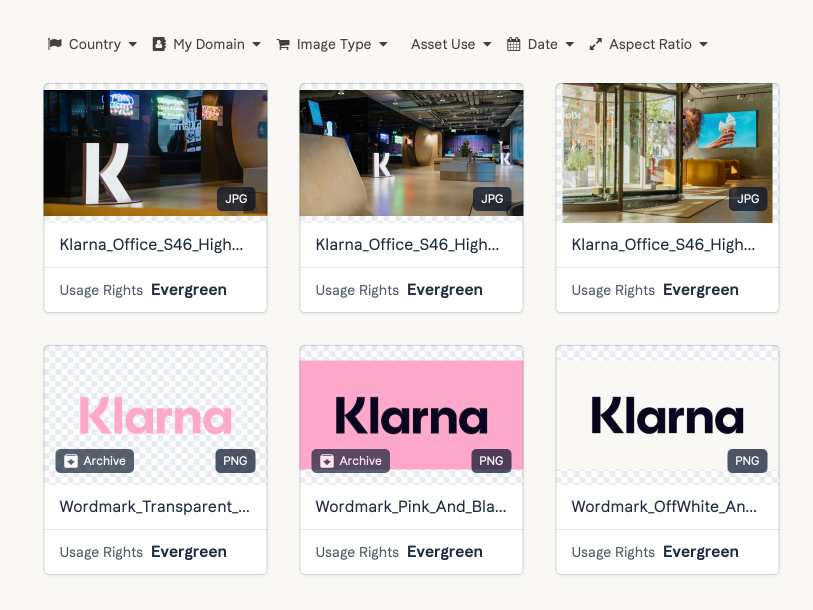
Notice how there is no guesswork involved. Anyone landing on that page can immediately find what they need and represent the brand correctly.
That level of preparation is what separates brands that get covered from those that get ignored.
When it comes to promoting an app launch, many teams assume they need to go big to get noticed.
While large campaigns work for some marketing channels, when it comes to influencer marketing, smaller creators can sometimes drive better results.
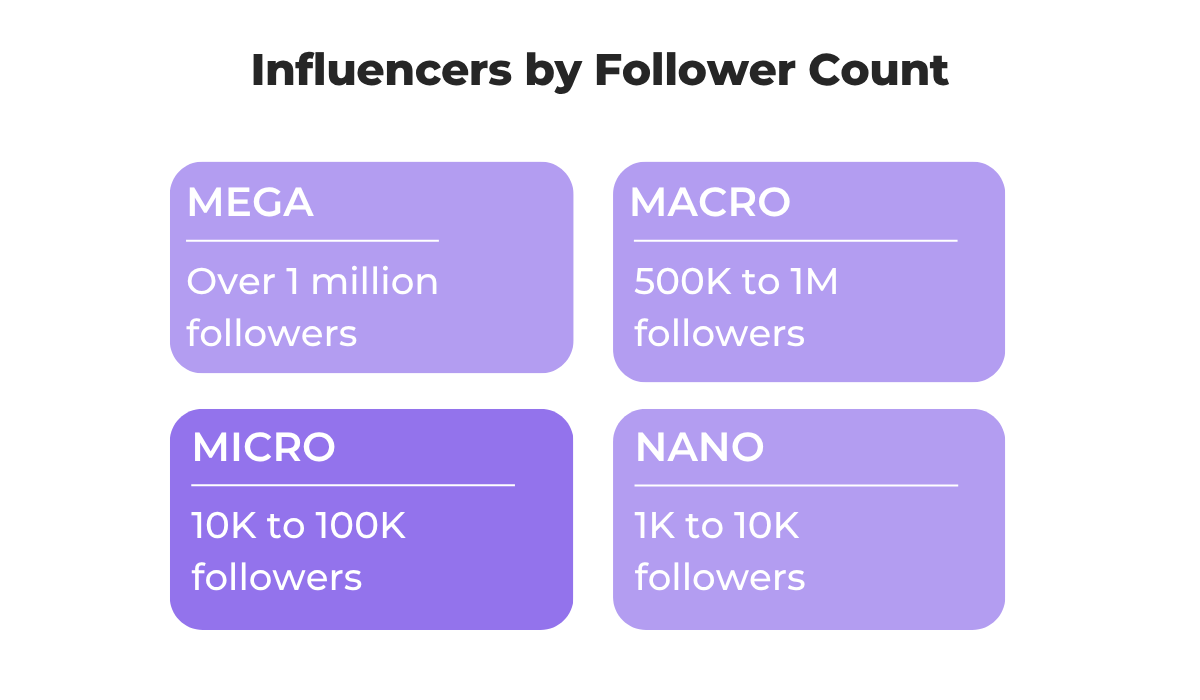
In fact, micro-influencers, who are creators with 10K to 100K followers, tend to have higher engagement rates and stronger trust with their audience compared to larger accounts.
Their recommendations feel more personal and less like paid advertising, which matters when you’re asking someone to download and try a new app.
A good example of this approach comes from Miro, the collaborative whiteboard tool.
As part of their marketing efforts, Miro partners with micro-influencers and even nano-influencers across Instagram, LinkedIn, and community platforms to promote their product.
The screenshot below shows an example of one of these collaborations.
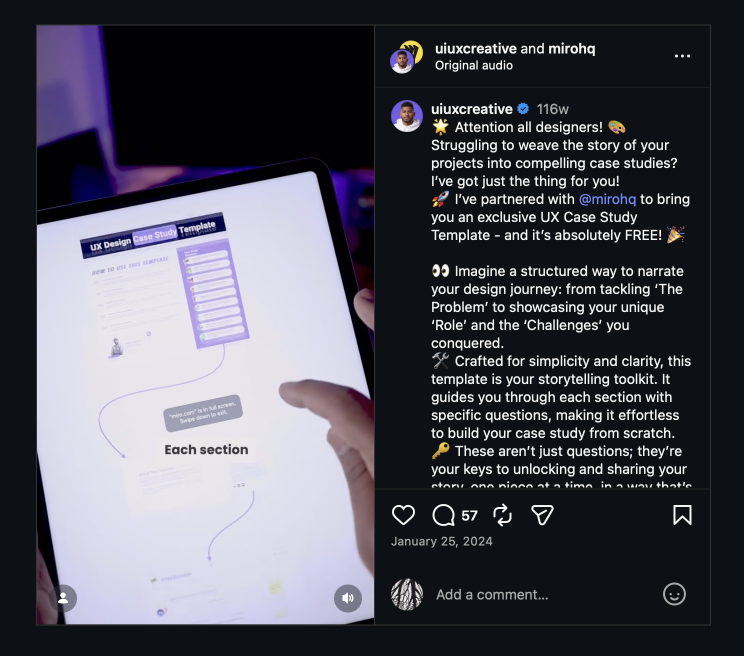
What these creators did was show how specific Miro features could be used in real work scenarios, in a way that felt natural and genuine rather than promotional.
When choosing influencers for your own launch, focus on relevance and audience quality over follower count.
Look for creators whose content niche aligns with your target users, who have genuine engagement in their comments (not just likes), and who have a track record of creating in-depth content rather than quick shoutouts.
Done right, you’ll engage a smaller, more relevant audience, which almost always converts better than a large, general one.
The first days and weeks after launch are the most critical for learning how users actually interact with your app.
This is why analytics should be set up before launch, not added as an afterthought.
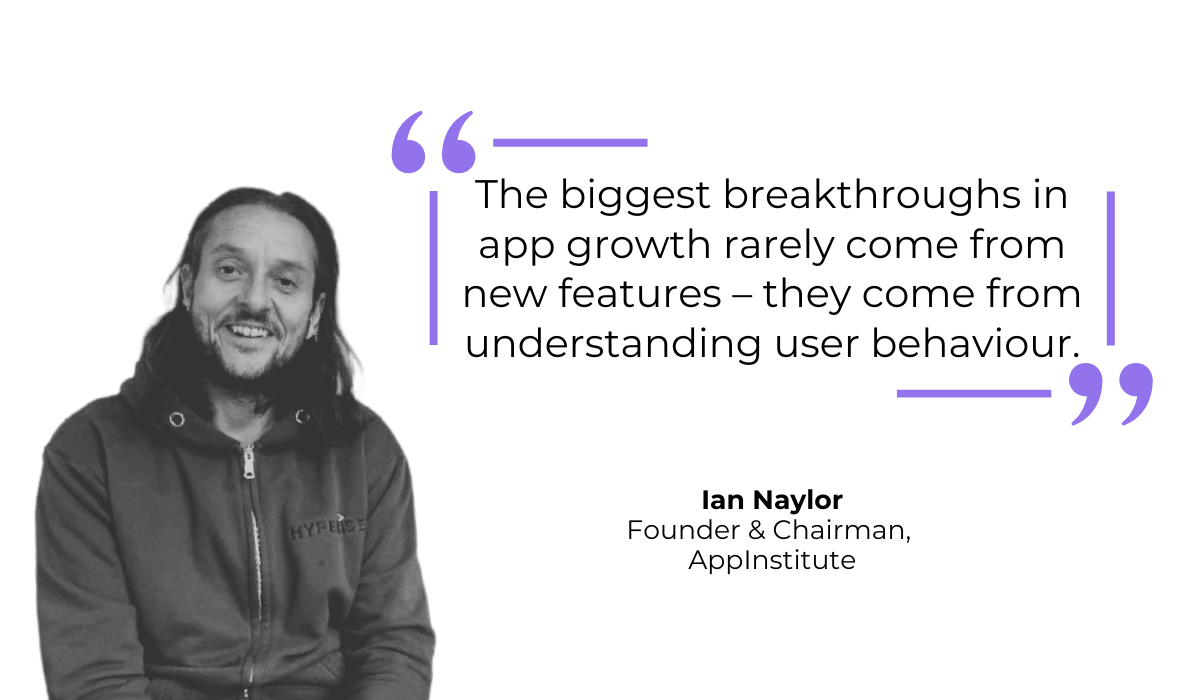
As Ian Naylor, founder and chairman of AppInstitute, puts it, understanding how users behave inside your app matters more than adding new app features.
With the right data analytics in place, you can start answering some important questions from day one:
These insights are what allow you to make quick, evidence-based improvements instead of relying on assumptions about what your users need.
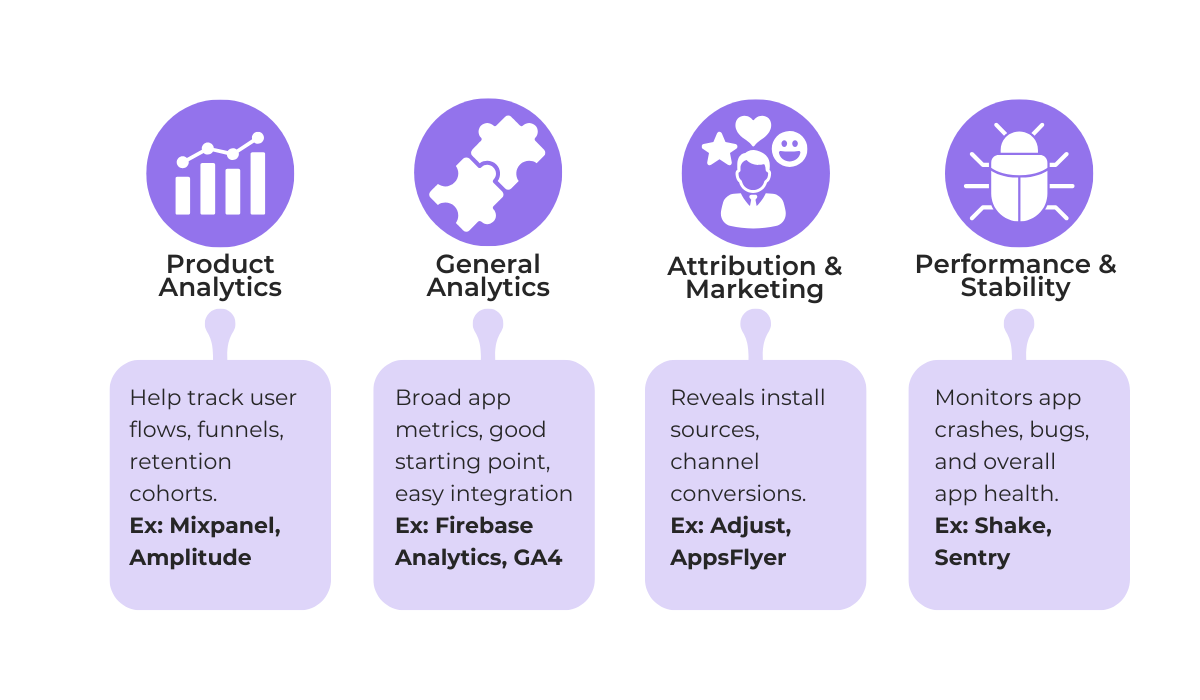
That said, not every analytics tool does the same thing.
Depending on what you’re trying to measure, you’ll likely need a combination across different categories.
Start with the metrics that connect directly to the goals and targets you defined.
You don’t need to track everything right away, and a focused setup that covers onboarding data, retention, and core feature usage will give you more than enough to act on early on.
The key is that you can always expand your tracking later, but you can never recover data from a period when nothing was being measured.
That covers our top tips for app launch marketing.
A successful launch comes down to preparation, clear thinking about your audience and goals, and a habit of tracking the right data over time.
Ideally, you want to work through all of what we talked about in this article.
If you are just getting started, pick the steps most relevant to where you are right now and build from there.
From internal bug reporting to production and customer support, our all-in-one SDK gets you all the right clues to fix issues in your mobile app and website.
We love to think it makes CTOs life easier, QA tester’s reports better and dev’s coding faster. If you agree that user feedback is key – Shake is your door lock.
Read more about us here.

Add to app in minutes

Doesn’t affect app speed

GDPR & CCPA compliant

Unexpected things pop up
Just like bugs in your app or web 🐛 Fix them now with just one reporting tool.