Recommended
Different types of mobile application testing
In app development, testing is an essential component of ensuring top-notch quality standards.
Manual testing, in particular, has a pivotal role, as human testers step up to the plate to carry out a battery of tests that detect bugs, defects, and usability issues that automation tools might miss.
That’s why in this article, we’re going to dive deep into manual app testing and explore the various types of it that QA specialists use to make sure their apps are glitch-free and user-centric.
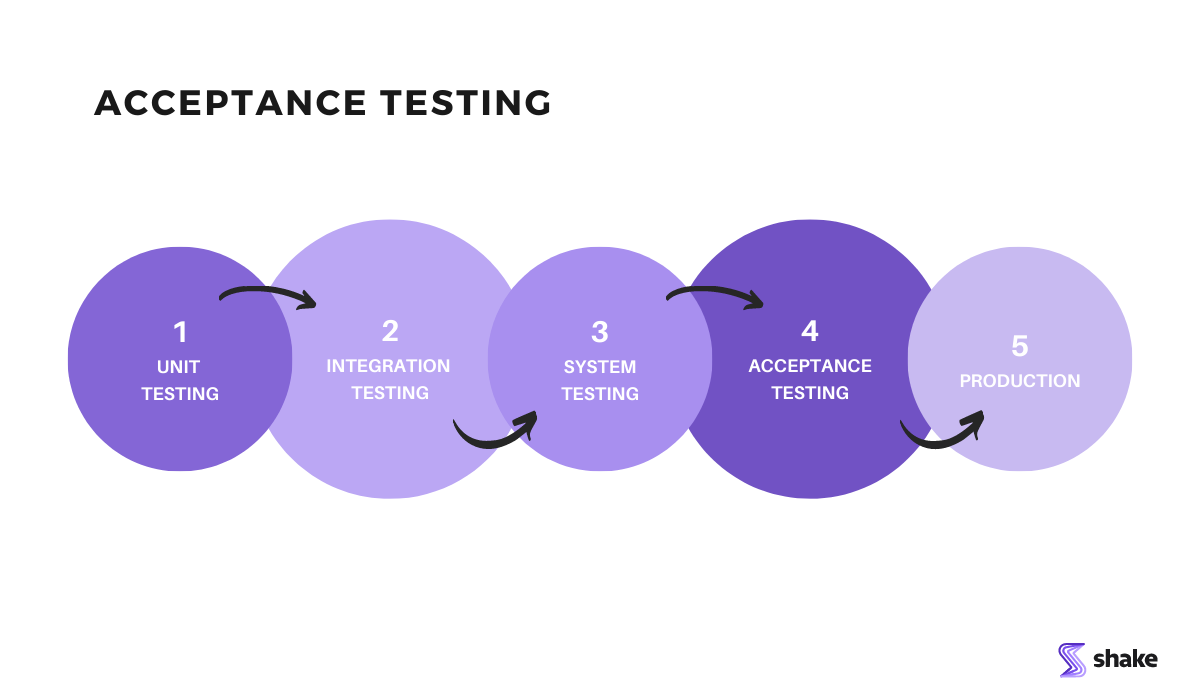
We’ll take you through unit testing, system testing, acceptance testing, and everything in between, giving you a comprehensive understanding of how to achieve app excellence.
Table of Contents
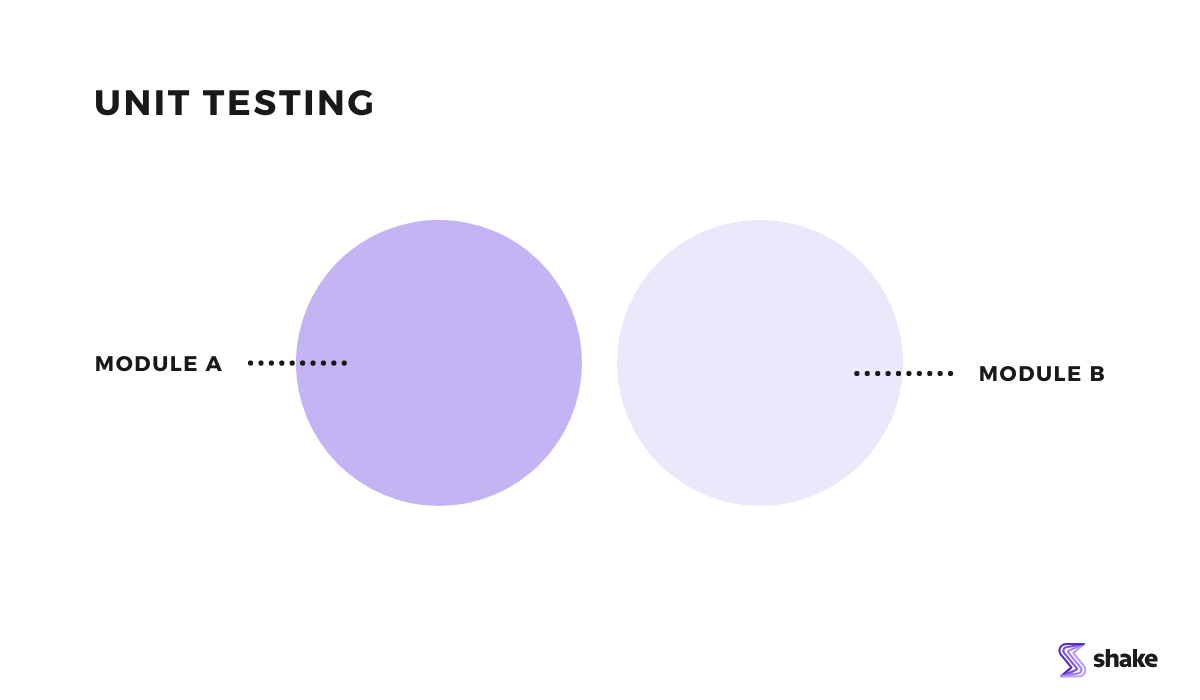
We’ll start with unit testing, the bedrock of all future testing.
This practice provides developers with the ability to isolate and test individual units or modules of code, thereby enabling them to detect and resolve issues early on.
They can identify and fix bugs as they write their code, thus saving themselves a great deal of time when minor problems snowball into major issues further down the road.
As an example, consider the next button, a simple yet essential feature.
It allows users to progress through pages without snags.

Get unreal data to fix real issues in your app & web.
Nevertheless, it can, as with every other element, be associated with some potential issues, such as the button leading to the wrong page, displaying an error message, or being unavailable entirely.
Without proper unit testing, a faulty next button could sneak into the later stages of development, and cause a multitude of problems, from app crashes to security breaches.
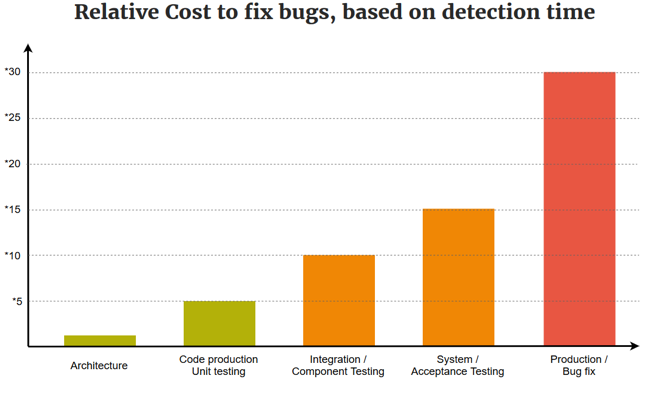
You must admit, these are not the kinds of bugs you desire in the app, especially keeping in mind that the cost of not testing code increases exponentially as you progress through the app development lifecycle, as depicted in the picture below.
That’s why it’s important to nip these issues in the bud by incorporating unit testing into the process.
And if you’re wondering how this process goes, it generally consists of three phases:
In the planning phase, developers decide what units of the code to test and how.
The scripting phase involves writing a unit test and preparing the scripts that will be needed to execute the code.
Finally, execution is the phase where unit tests run, and developers identify and fix issues in code.
By following these phases thoroughly, you’ll be well on your way to maintaining a high degree of quality throughout the development process and minimizing future rework.
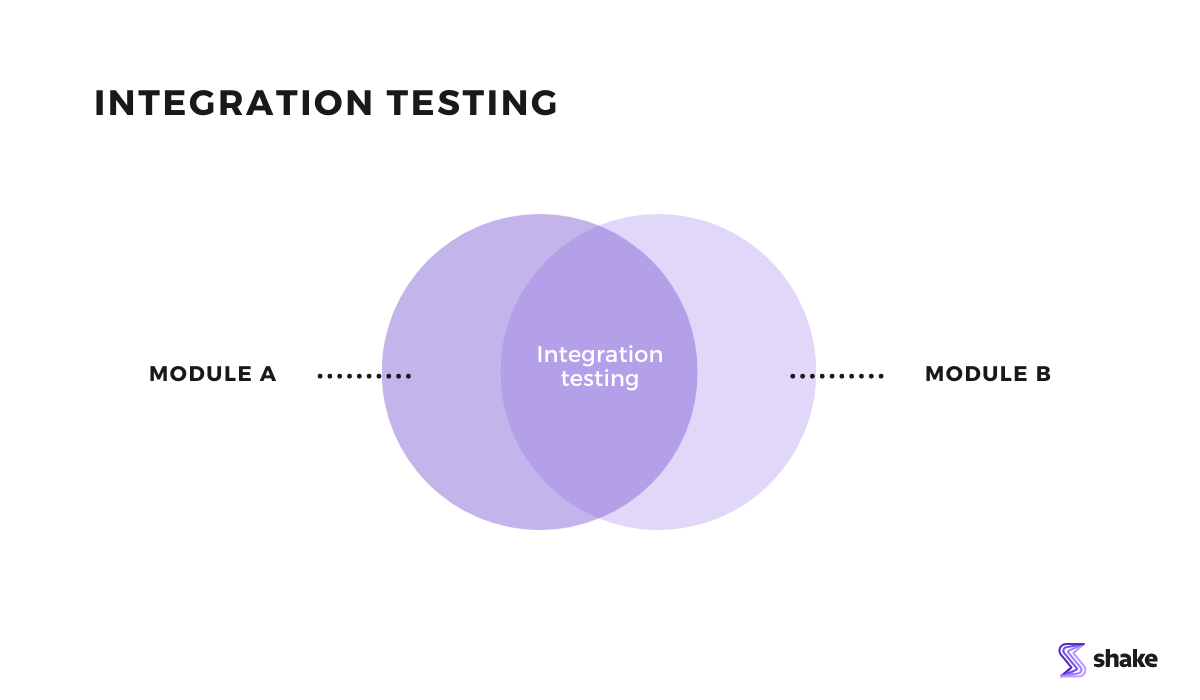
Integration testing is the crucial next step following unit testing.
This is the juncture where all the diverse code units or modules are merged and tested as a cohesive whole.
Therefore, its primary objective is to expose any glitches that may arise in the interactions between these different modules.
At this point, you may wonder why you need integration testing when modules have already gone through unit testing in the previous stage.
Well, defects can still sneak in for various reasons.
Each module is the brainchild of an individual developer, each with its own unique coding philosophy.
Furthermore, client requirements can shift at a moment’s notice. And let’s face it, these new requirements might not always get the thorough unit testing they deserve.
In addition, the interaction between modules and databases can also result in errors.
Therefore, while unit testing is essential to catching the low-hanging fruit, the only way to truly uncover hidden hiccups when they join forces is through rigorous integration testing.
In the example below, you can see a test case that offers a peek into how this vital testing is executed.
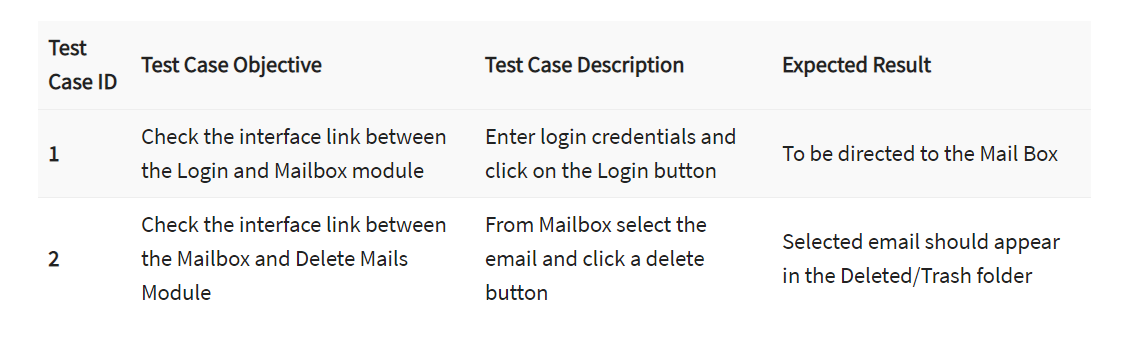
As you can see, the test cases are set up to verify that a particular module works with its dependencies, in this case, the Login and Mailbox modules, as well as the Mailbox and Delete Mails modules.
Integration testing aims to confirm that these modules work together as expected, according to the requirements defined in test cases.
There are several integration testing methods to choose from, with top-down, bottom-up, mixed/sandwich, and big-bang integration testing being the most widely used.
Each of them has its own advantages, but in general, top-down and mixed integration testing are considered preferable to the other two.
All things considered, integration testing is indispensable because it guarantees that any hidden defects are uncovered and resolved on time.
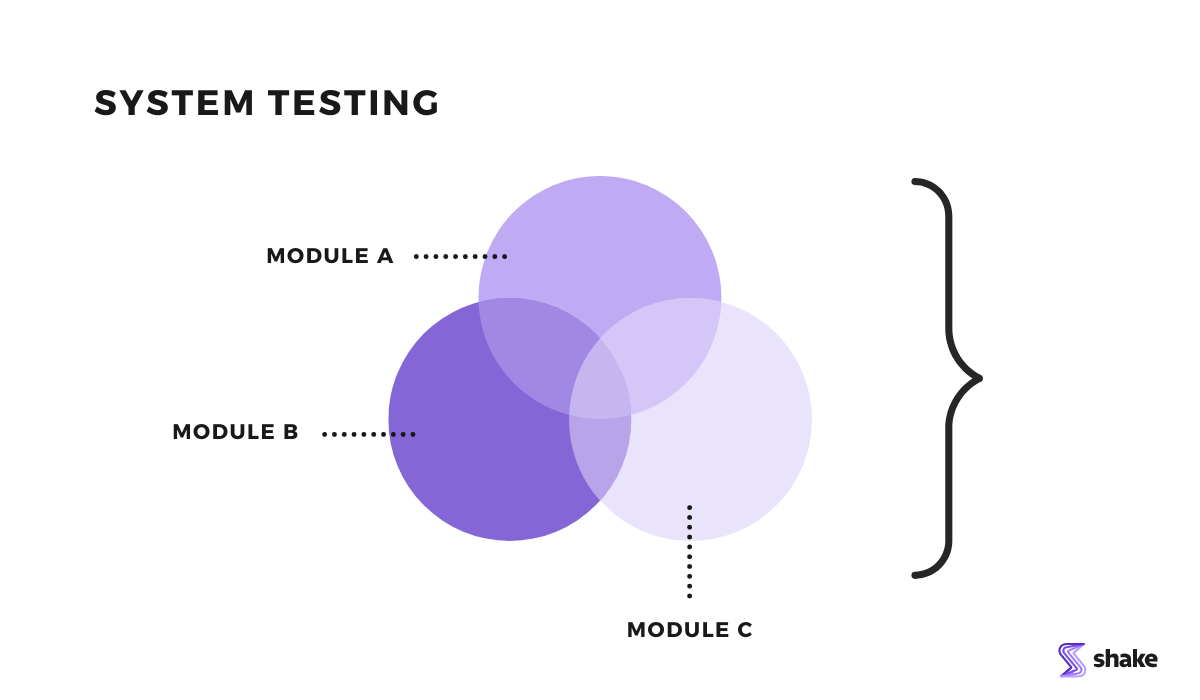
After integration testing is complete, the pivotal moment arrives―system testing.
This is the critical stage where all the pieces come together, and the entire system is evaluated.
During this phase, the QA team puts the system’s performance under the microscope.
Every single element of the application is put through rigorous testing, as the QA team examines whether the system meets all requirements, whether they be technical, business-related, or functional.
To achieve this level of scrutiny, the team utilizes a variety of testing methods, including:
Also, achieving a rock-solid app system requires a well-structured process that includes everything from the test plan to test data and all the way to regression testing.
The following diagram provides a graphic illustration of this process.
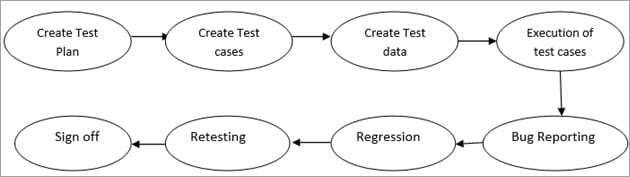
This will allow the team to detect, report, and fix bugs they discover during testing.
They repeat this testing cycle until the system is fit for further stages.
Having said that, it’s pretty obvious that the benefits of system testing are numerous.
However, one of the biggest advantages is that it’s performed in an environment that mirrors production, giving you a realistic sense of user reactions.
This means you can identify and address any issues before deployment, minimizing the need for future troubleshooting.
Smoke testing is a nifty way to quickly detect potential issues in a new build or version of the app.
Its objective is rather simple―to ensure that the build is ready for more in-depth testing by identifying minor issues that could delay the app’s release.
Smoke testing derives its name from basic hardware testing, where turning on a device and not seeing smoke signifies that it’s safe to use.
Similarly, a successful smoke test indicates that the build is reliable and can undergo further testing without fear of any unwanted surprises.
This testing has proven its worth in integration testing, system testing, and acceptance testing, where it has earned its stripes by being a reliable method for detecting anomalies.
For instance, during integration testing, it’s crucial to verify that critical integration and end-to-end functionalities are performing well.
Capture, Annotate & Share in Seconds with our Free Chrome Extension!
And that’s where smoke testing shines, ensuring that any issues introduced during integration or overlooked by the development team don’t slip through the cracks.
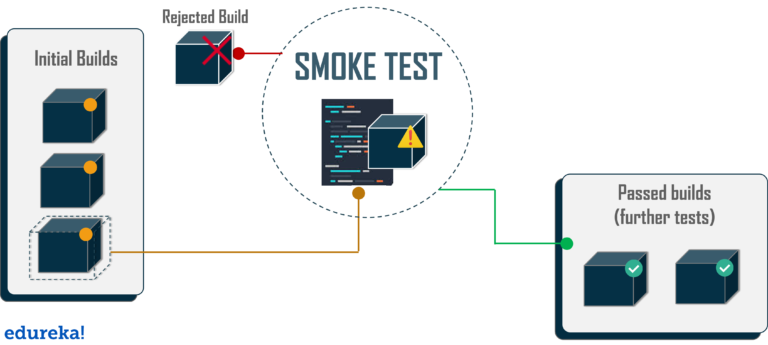
So how is smoke testing usually conducted?
As you can see in the picture below, first the QA specialists run a set of tests after the new build is created.
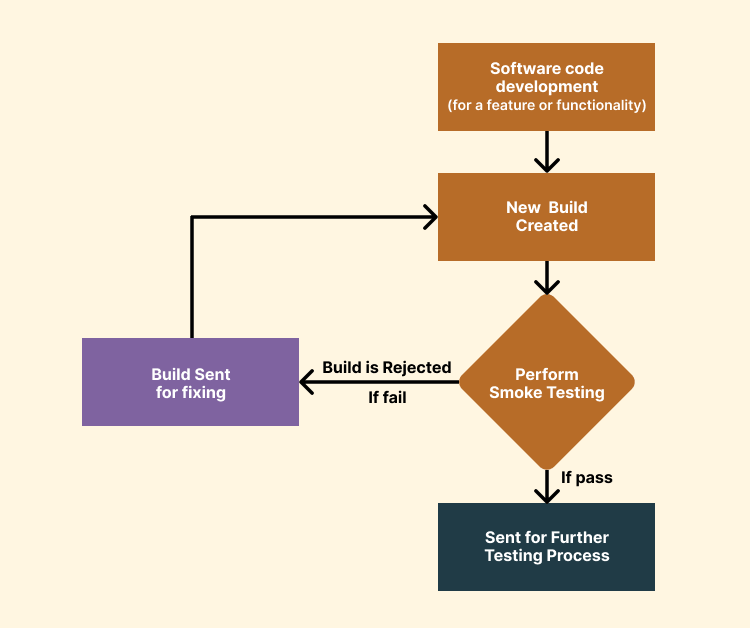
If the build passes testing, it’s sent for more thorough testing. But if the smoke test fails, the app must be handed back to the development team to be fixed.
Of course, a few downsides may be important to consider. As smoke testing is surface-level testing, there may be showstopper bugs lurking even after the smoke test passes.
But overall, it’s an easy and effective way to improve the quality of the builds, catch defects early, and ensure a smoother testing process.
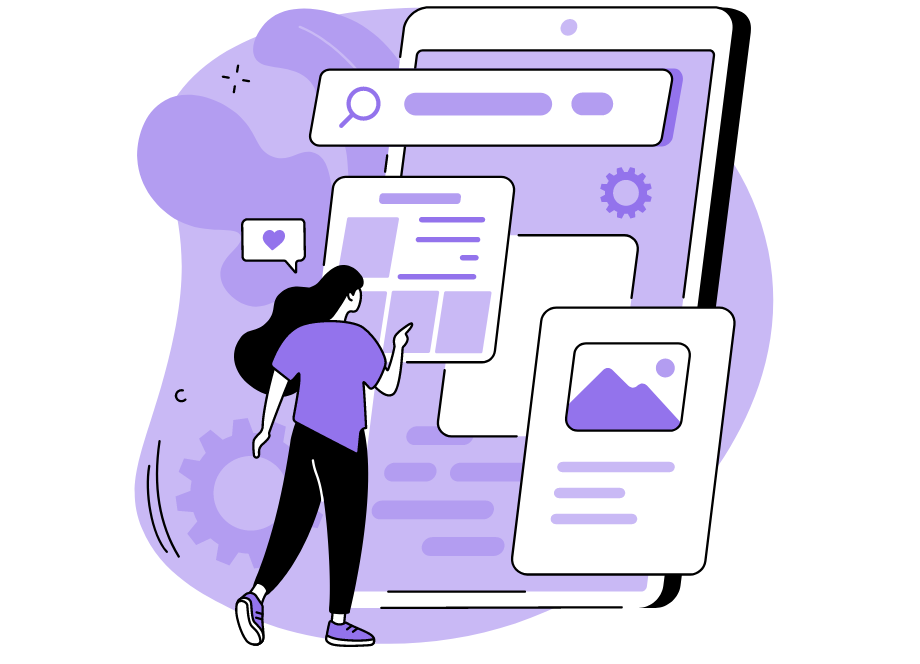
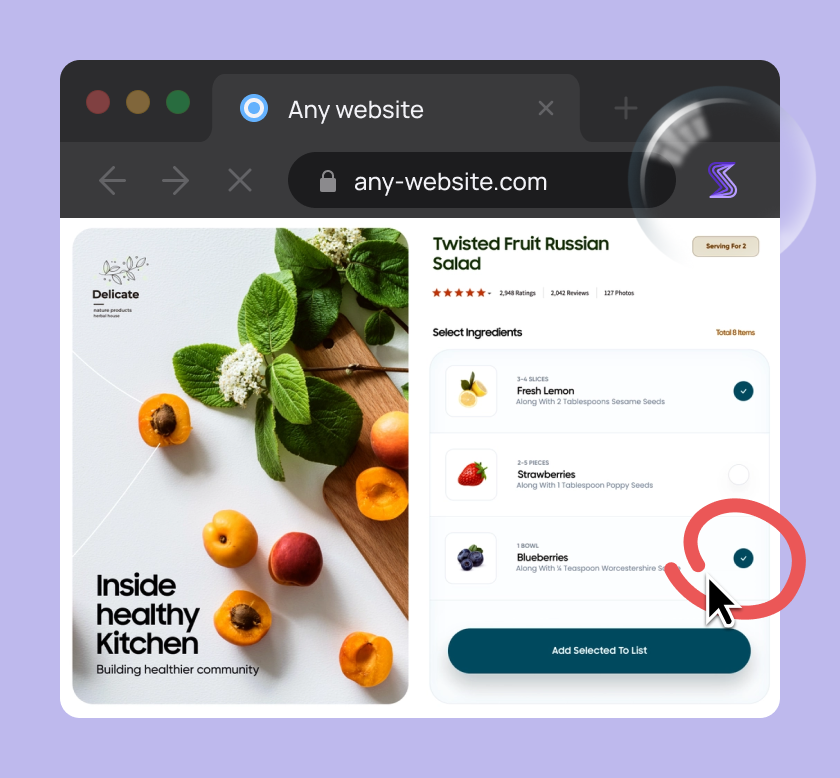
Usability testing is a type of testing that essentially answers one basic question: can users use and navigate the app with ease?
To help you contextualize this, consider the following example.
Imagine that you and your team have spent countless hours crafting the perfect feature for your app. You’ve thought of every detail, refining it until it shines.
Yet, when you present it to your end-users, they struggle to make sense of even its basic functions.
And if users cannot proficiently interact with the app at this point, then it’s difficult to imagine how they could find any value in it later on.
This is where usability testing becomes truly helpful because it enables you to test the app with real users and detect issues that contribute to poor user experience.
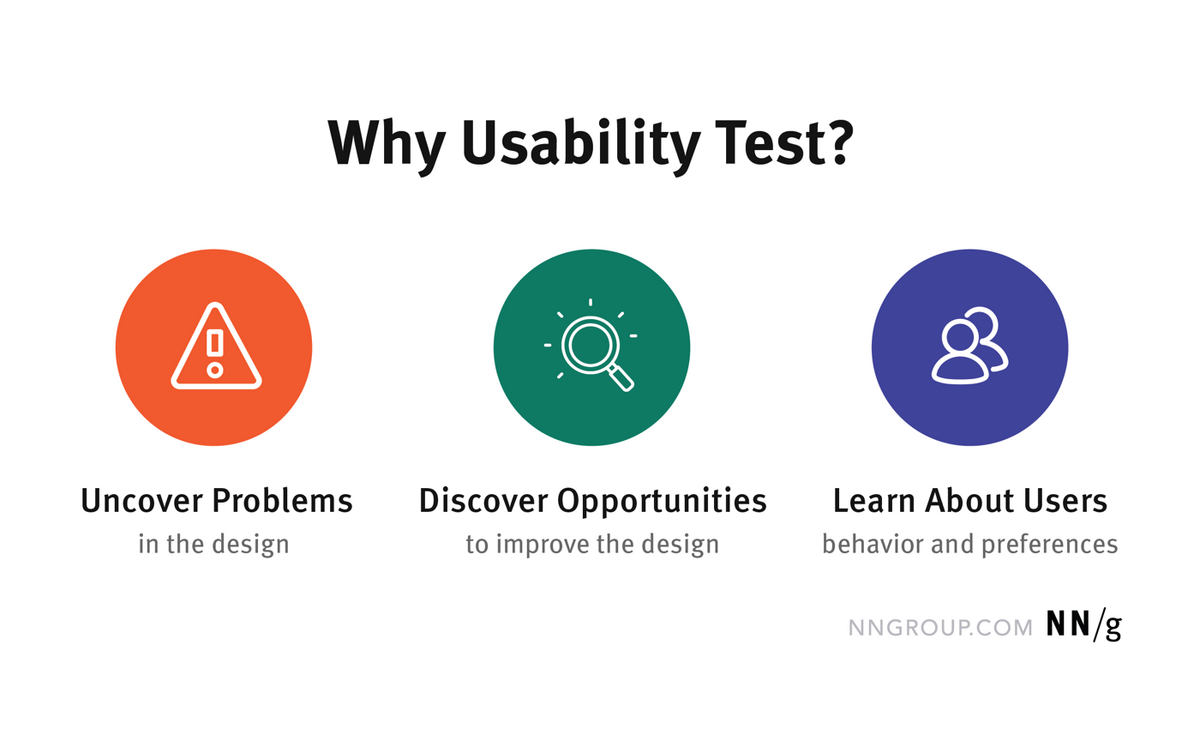
As the image above nicely shows, this way you can identify pain points, create an experience that users will appreciate, and essentially, learn a lot about your users.
Usability testing is usually performed in a way that researchers, or facilitators as they are sometimes called, watch users as they use the app and complete assigned tasks.
By inspecting their body language, listening to their feedback, and carefully studying their actions, researchers can gain valuable insights into whether the app is user-friendly and easy to navigate.
However, to conduct this essential testing, a simple setup is required.
For example, you might need a mobile device, a webcam pointed at the user, another camera capturing the phone screen, and software to record their actions, as the image below shows.

But any other similar setting will also do.
All things considered, usability testing holds significant importance in the success of an app.
Therefore, it should be conducted early in the development life cycle to identify potential issues and resolve them promptly.
However, it’s equally valuable during the later stages of development. This allows for final adjustments and improvements to be made before releasing the app into the world.
Acceptance testing, the final checkpoint before releasing the app to the public, is a critical process that validates whether an app truly delivers on its promise of meeting the user’s needs and expectations.
It occurs at the end of the development cycle after coding is done but before it’s released to the users.
Sure, you might be thinking that usability testing is enough to ensure that the app is user-friendly.
But acceptance testing goes beyond that. It ensures that your app is not just navigable, but also functional, free of defects, and aligned with business objectives.
Think of acceptance testing as the ultimate measure of whether your app is ready for prime time. So, before you release it into the wild, make sure it passes the acceptance tests.
You can do that by conducting two types of testing:
Alpha testing is typically conducted in-house by a development team or a designated group of testers.
They carefully examine the app’s functionality, reliability, and usability to detect any lurking bugs that may have crept in. The team also must ensure that the app meets business goals.
Once the alpha testers have given the app their seal of approval, beta testing begins.
In this phase, real users test the app on a variety of devices to ensure its functionality, compatibility, and usability are satisfactory.
This feedback is invaluable for making final improvements to the app and polishing it until it’s ready to be released.
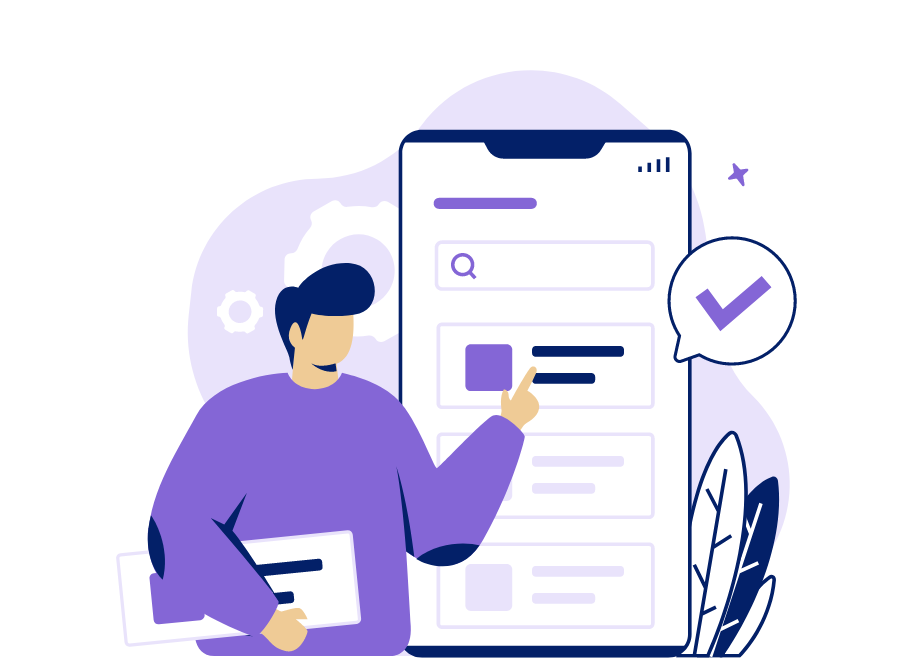
Although the acceptance testing is performed manually, here you can implement bugs and crash reporting tools, such as our own Shake, to help you streamline the testing process.
Shake is an SDK that can be easily installed on any iOS or Android device to automatically track crashes and in-app errors and create extensive reports about them.
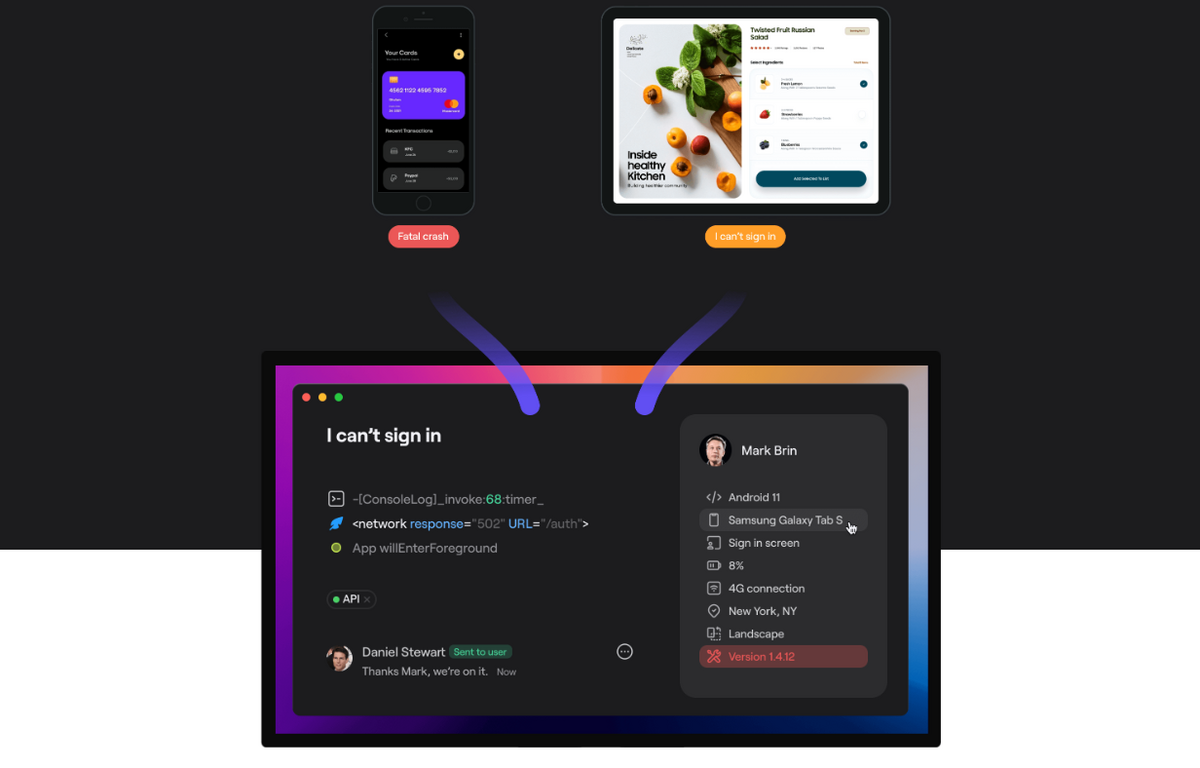
Because the tool includes a built-in bug reporting system, all users have to do is shake their phones and the report will automatically be generated.
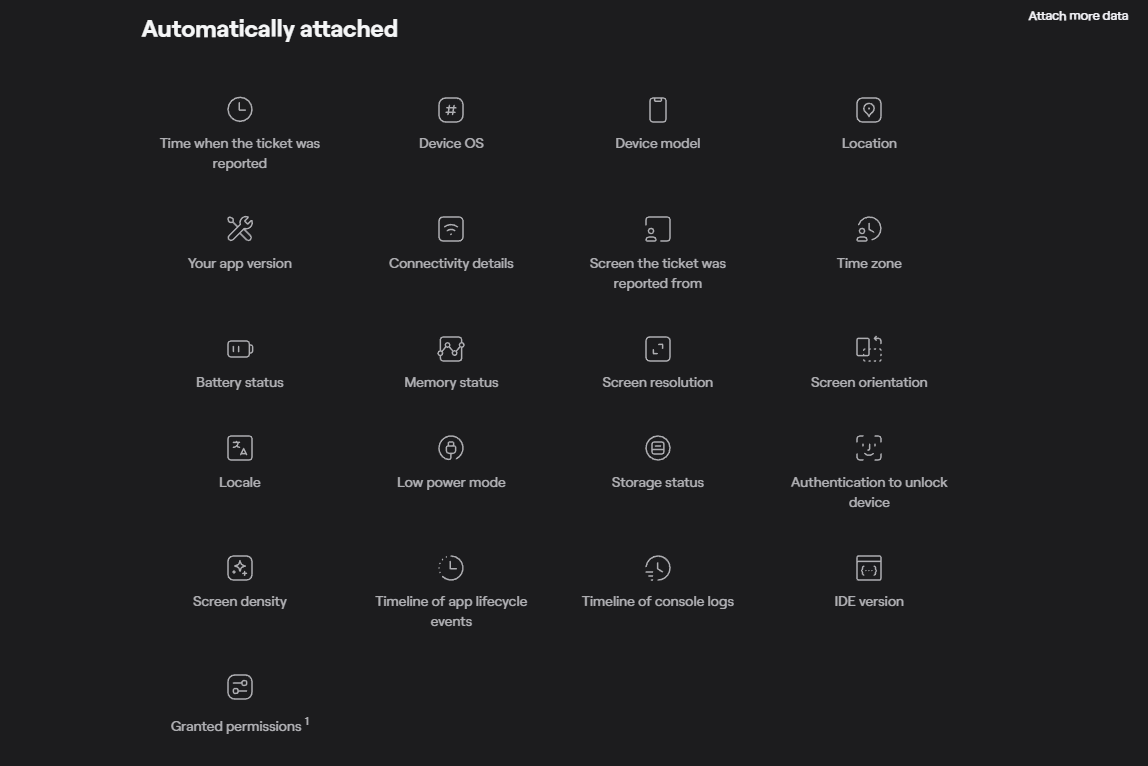
This comprehensive report will encompass more than 70 pieces of information, including the device OS and model, connectivity details, memory and battery status, console logs, screenshots, and a video recording of the bug, to name just a few.
Here is a list of data that is usually attached to the reports:
The report will then automatically be sent to the developers, enabling them to identify and fix issues quickly.
You must admit, beta testing becomes much more efficient this way.
Overall, it’s vital that your app passes all acceptance tests before being released to the public.
After all, there’s no better way of testing than seeing how real people use the app.
Although, at first glance, manual testing may seem simple, it’s much more nuanced than most people would guess.
It requires a diverse array of testing types, executed in precise order, to ensure the app is market-ready.
In this article, we delved into the basic types of manual testing, guiding you through each step and specific detail.
Hopefully, it has equipped you with the needed knowledge to kickstart your own manual testing efforts.
From internal bug reporting to production and customer support, our all-in-one SDK gets you all the right clues to fix issues in your mobile app and website.
We love to think it makes CTOs life easier, QA tester’s reports better and dev’s coding faster. If you agree that user feedback is key – Shake is your door lock.
Read more about us here.

Add to app in minutes

Doesn’t affect app speed

GDPR & CCPA compliant

Unexpected things pop up
Just like bugs in your app or web 🐛 Fix them now with just one reporting tool.