
Steps to automate bug triaging with AI
Are you building a Software Development Kit (SDK)?
Creating a truly great SDK is about far more than just writing an API wrapper.
To build a product developers love using, you need a clear strategy for planning, design, and long-term maintenance.
This guide provides a clear, step-by-step framework for developers and product managers.
We’ll walk you through the entire journey, from initial concept to post-release updates, to help you build an indispensable tool.
Table of Contents
Before a single line of code is written, a great SDK starts with thoughtful design.
The core purpose of an SDK is to take the raw, sometimes cumbersome mechanics of an API and turn them into a clean, intuitive, and developer-friendly experience.
Good SDK design philosophy is usually quite straightforward: mirror the API’s structure in a way that feels natural to the target programming language.
So, what problem are we actually solving?
To understand this, let’s look at how a developer would interact with an API without an SDK.
Imagine you need to create a payment using Stripe.
The raw API call requires a developer to assemble a complex command, like the one shown below:
curl https://api.stripe.com/v1/payment_intents \
-u sk_test_BQokikJOvBiI2HlWgH4olfQ2. : \
-d amount=2000 \
-d currency=usd \
-d "payment_method_types[]"=card
This is a perfectly valid way to talk to the Stripe API, but it’s a hassle.

Get unreal data to fix real issues in your app & web.
It requires a developer to manage every detail of the API call, and everything is done manually.
Now, contrast that with a well-designed SDK written in Python that mirrors the API’s logic in a clean function call, abstracting away the complexity.
import stripe

stripe.api_key = 'sk_test_BQokikJOvBiI2HlWgH4olfQ2. : '

payment_intent = stripe.PaymentIntent.create(
amount=2000,
currency="usd",
payment_method_types=["card"],
)
We can see that this SDK function call is far more readable and structured compared to the direct API call.
This design is only possible by reviewing the API specification, which defines the precise paths or endpoints and reusable objects that shape the SDK, and ensuring your design is guided by these elements.
For this, you should check the API documentation, which, if well-made, might be structured similarly to the one shown below.
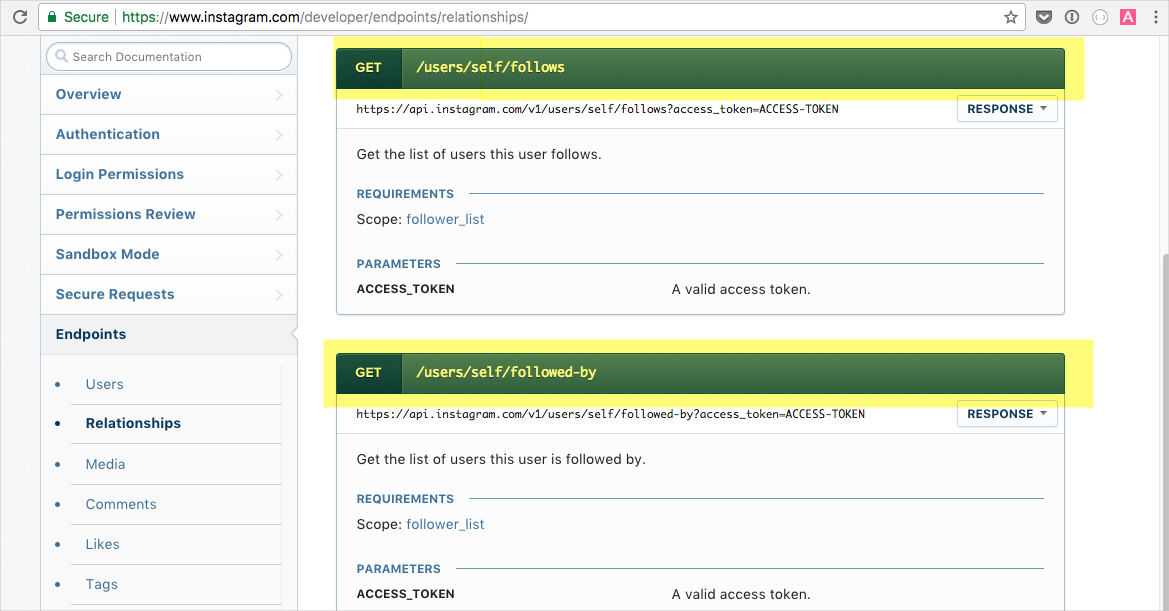
As we can see in the image, the precise API endpoints are easily accessible, making it easier for devs to explore and analyze them.
Overall, by letting the API spec guide your design, you ensure your SDK is not a rough code wrapper.
Instead, you should aim to make it a logical extension of the API itself.
Once the SDK’s design is defined, the next step is to build its actual codebase.
This stage focuses on translating the API specification into usable code, ensuring that each part of the SDK interacts seamlessly with the underlying API.
The stages of building the code generally follow the steps shown below.
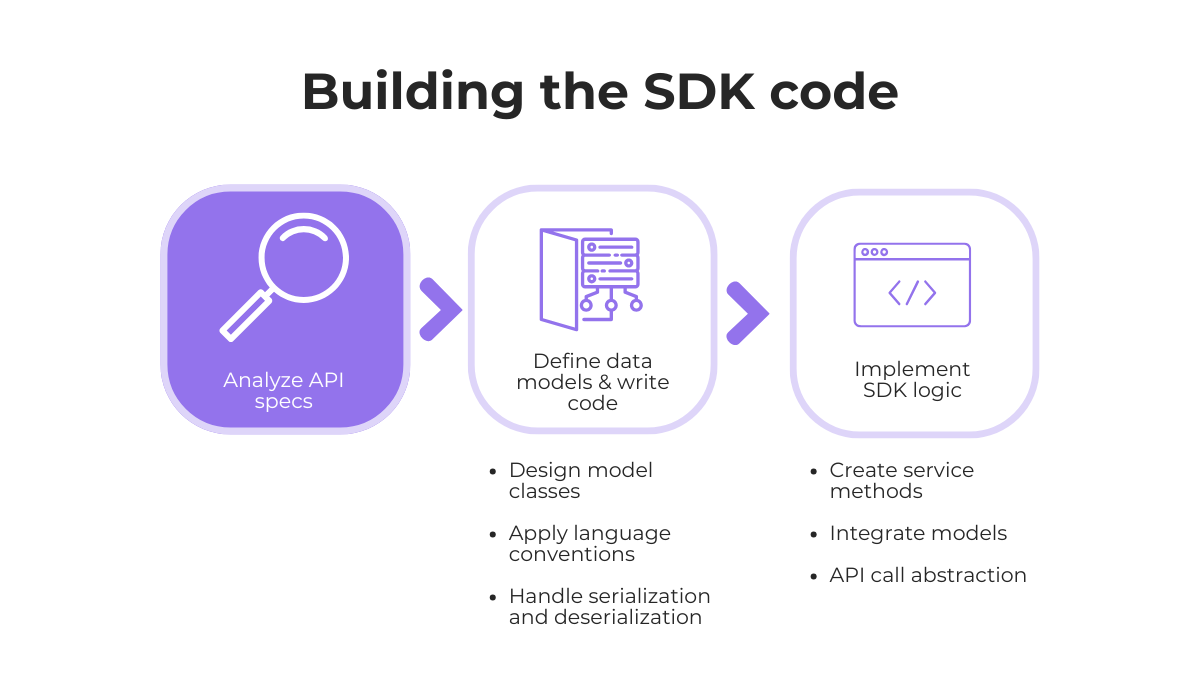
Analyzing the API specs was already completed in the first step.
Now, you need to define and create the data models, often referred to as objects or classes, that mirror the schemas in your API spec.
A simple example is when an API’s “user” resource, with its properties like id, name, and email, is represented as a User class in your code.
This process enables developers using your SDK to work with objects instead of raw JSON, resulting in cleaner, safer, and easier-to-debug code.
It’s worth pointing out that you can either write these model classes manually or auto-generate them using tools like Swagger Codegen or OpenAPI Generator.
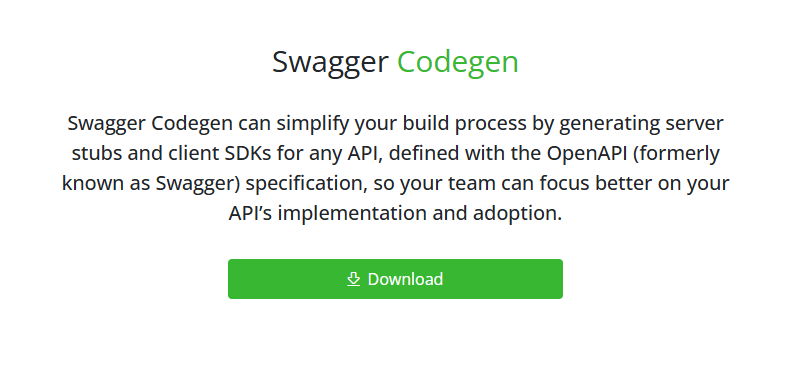
These tools can save time by instantly generating SDK stubs in multiple languages (Python, Java, TypeScript, and Go) based on your API specification, albeit with less precision than when the process is done manually.
The next crucial part of creating these models is the process of serialization and deserialization.
That involves checking whether the data models (such as the User object we mentioned) are properly converted into a format suitable for an API request and then back into a usable object.
With the data models in place, the next step is to implement the core logic of the SDK.
This involves creating the methods that interact with the API endpoints, which should handle all of the following responsibilities:
To keep the SDK organized and intuitive, it’s also good practice to group related methods into logical service classes.
For example, all methods related to users (createUser, getUser, deleteUser) would live in a UsersService.
This approach enhances the readability and scalability of the SDK, making it easier for developers to locate the functionality they require.
Finally, you wrap all these services inside a single, easy-to-use SDK client object.
This client object serves as the primary entry point for developers, who can initialize it once and then access all the various services and their methods through it.
While building an SDK, creating proper documentation should always be at the back of one’s mind.
To begin, you need to organize the documentation into distinct, logical sections.
A well-structured documentation site, such as the Maps SDK documentation shown below, enables developers to quickly and easily find the information they need.
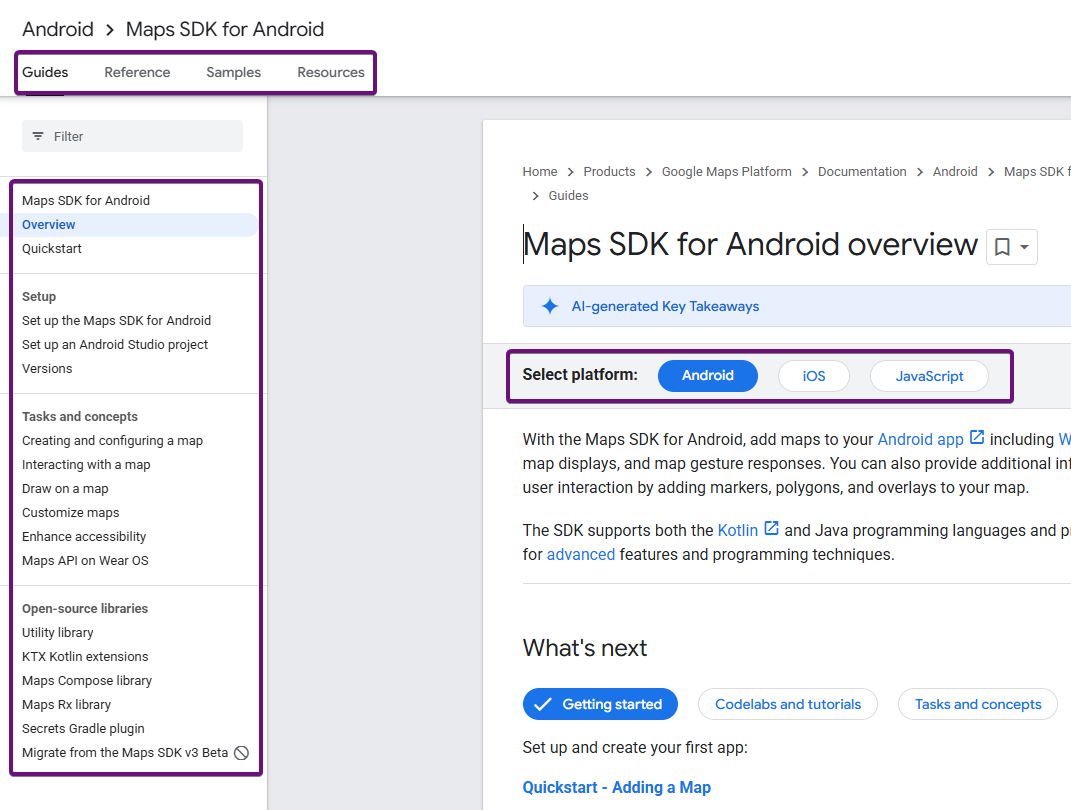
This page is clearly separated into tabs for various guides, code samples, and other resources.
It further divides content into sections for setup, core concepts, available libraries, and supported platforms.
Next, all of the SDK’s functionalities need to be thoroughly discussed and explained.
For instance, the Shake SDK documentation clearly separates its content into three distinct modules: the Users module, Crash Reporting, and User Feedback.
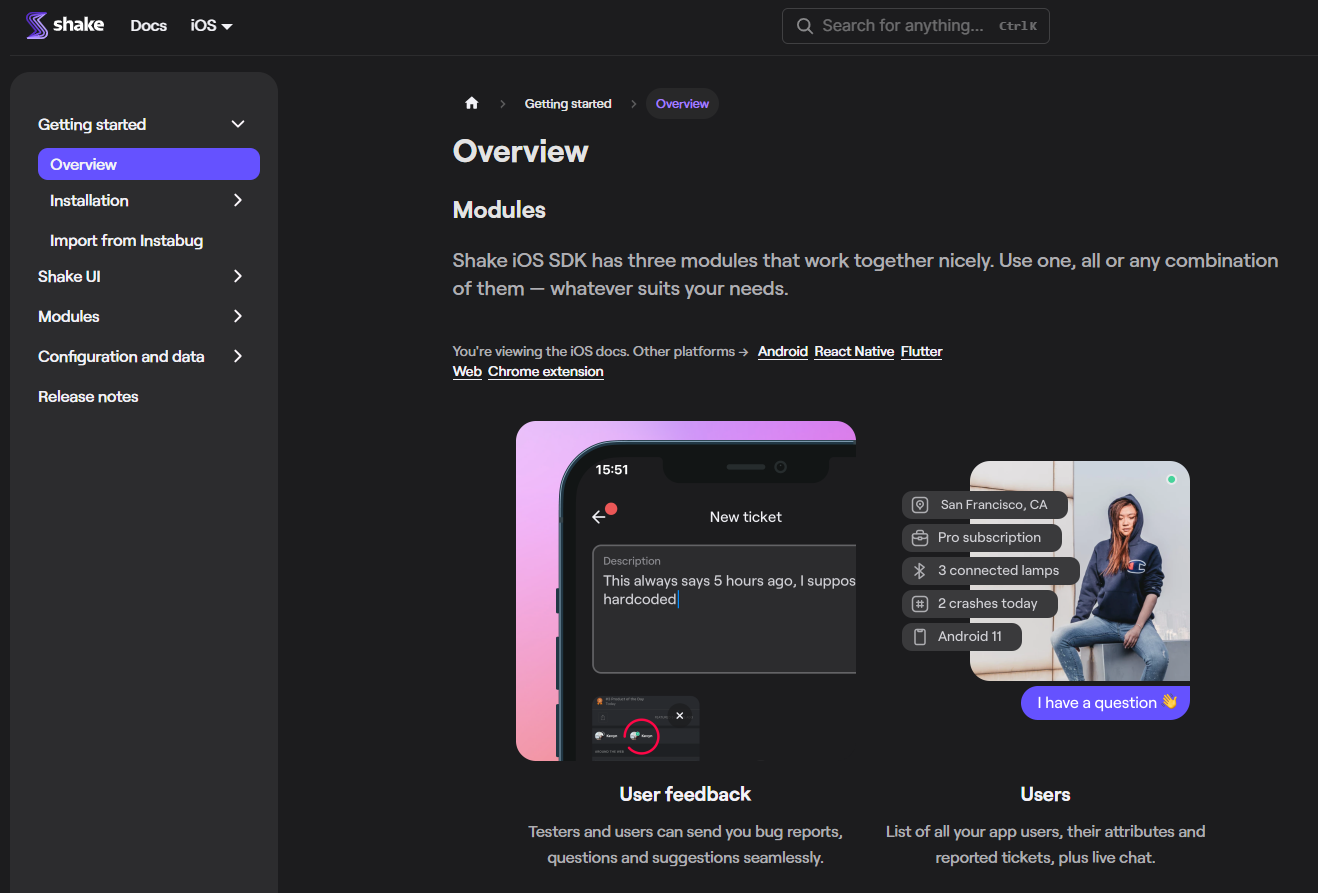
The documentation then provides separate instructions, implementation tips, and API references for each one.
Try to really focus on providing great setup instructions for all your SDK aspects.
Think about including code samples, practical examples, and troubleshooting resources, as they can be extremely helpful.
For example, the Square SDK provides various samples for implementing complex functionalities, such as their OAuth flow.

It’s worth noting that Square provides these code examples for all the different languages in which its SDK is available.
The initial SDK setup and feature implementations are often the first interactions a developer has with your SDK, so smooth and simple guides are key to making a good first impression.
To summarize, great documentation is well-organized, provides clear guides, and offers practical resources for developers.
Investing time in it is just as important as writing the code itself.
Thorough testing is a non-negotiable step, performed both during development and once the initial SDK build is complete.
Why we do this is a given: we want to make sure that the SDK is reliable, performs well under various conditions, and behaves exactly as documented.
There are various tests that should be performed to ensure quality, some of which are illustrated below.
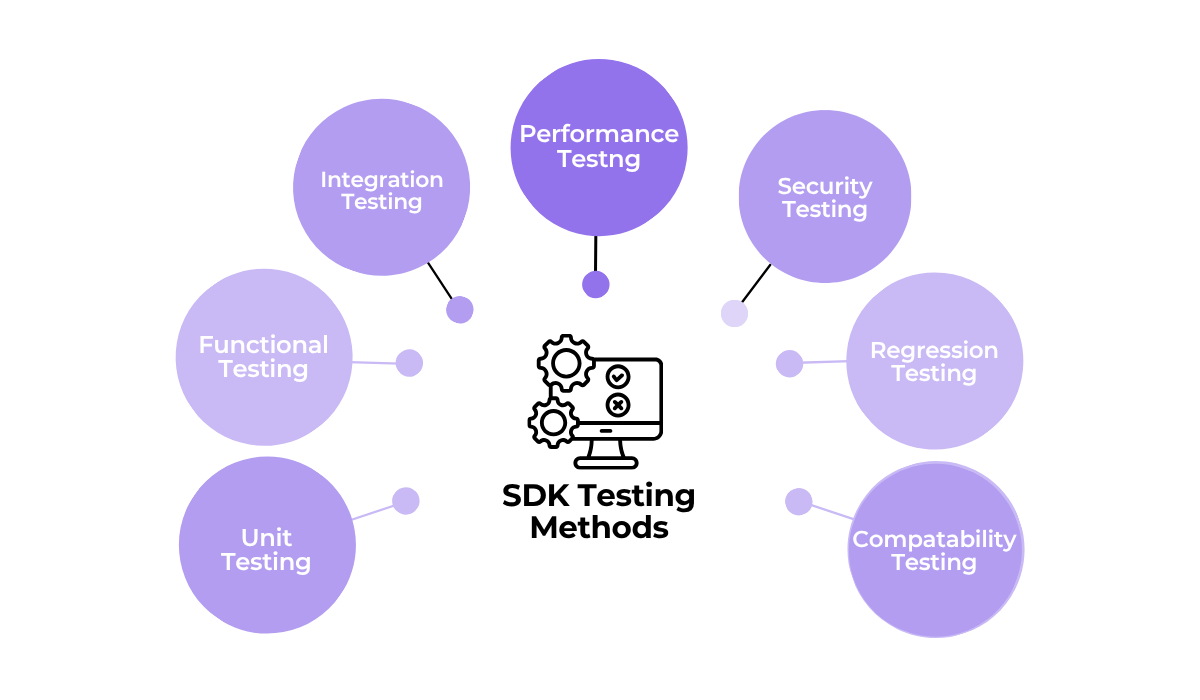
Two of the most important testing methods are unit tests and integration tests.
Unit tests focus on the smallest individual components of your code in isolation, such as a single function or method.
They are crucial for verifying that each piece of logic works correctly..
On the other hand, integration tests check how different parts of the SDK work together, including how the SDK interacts with the live API it is built for.
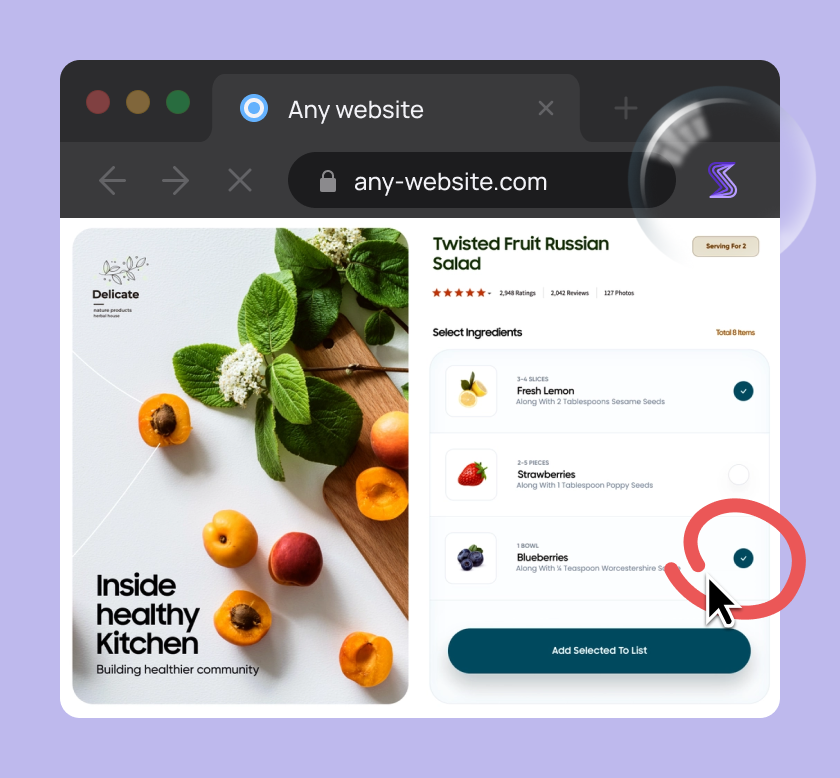
Capture, Annotate & Share in Seconds with our Free Chrome Extension!
While all SDKs require these foundational tests, certain types of SDKs or specific features demand a special focus on particular testing methods.
Here’s an example to help illustrate this point.
Consider an SDK for a payment gateway like PayPal.
Because it handles sensitive financial transactions, this SDK’s testing strategy must be exceptionally rigorous, with a strong focus on the testing methods shown below.
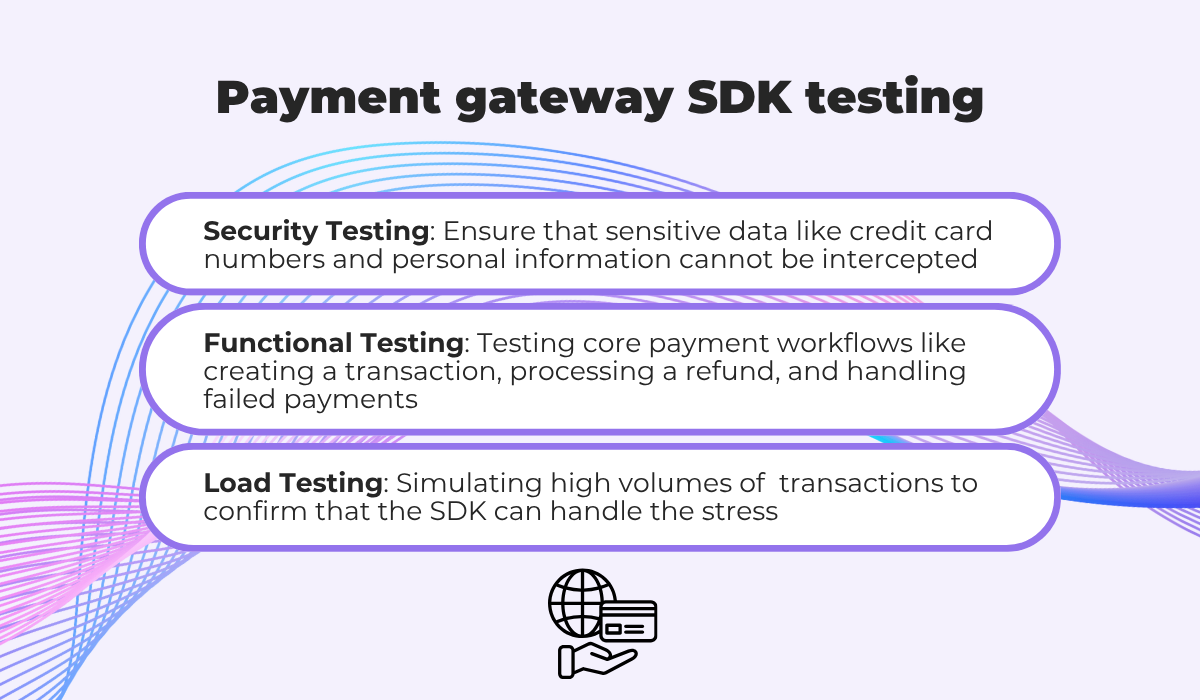
For a payment SDK, a failure in any of these areas could lead to significant financial loss and a complete loss of user trust.
So, the testing strategy must prioritize security and reliability above all else.
Of course, other types of SDKs will need a different approach.
But, only with a multi-layered approach to testing can we guarantee a high-quality, stable, and trustworthy SDK that developers can confidently use.
Once all of the previous steps are complete, it’s finally time to release your SDK into the world.
For a public release, you will want to explore packaging tools and repositories specific to your programming language, such as PyPI for Python, npm for Node.js and JavaScript, or Maven Central for Java.

These platforms act as central hubs where developers can easily find and download software packages.
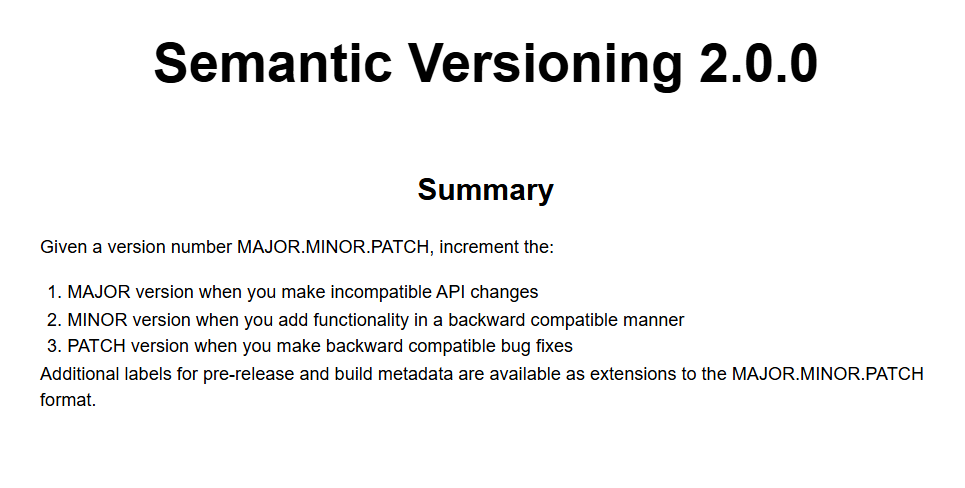
As you prepare your SDK for these platforms, reading about and adopting Semantic Versioning (SemVer) is critically important for the eventual SDK updates.
You can see the full SemVer specifications, which cover the MAJOR.MINOR.PATCH versioning format, to understand how to increment your version numbers correctly.
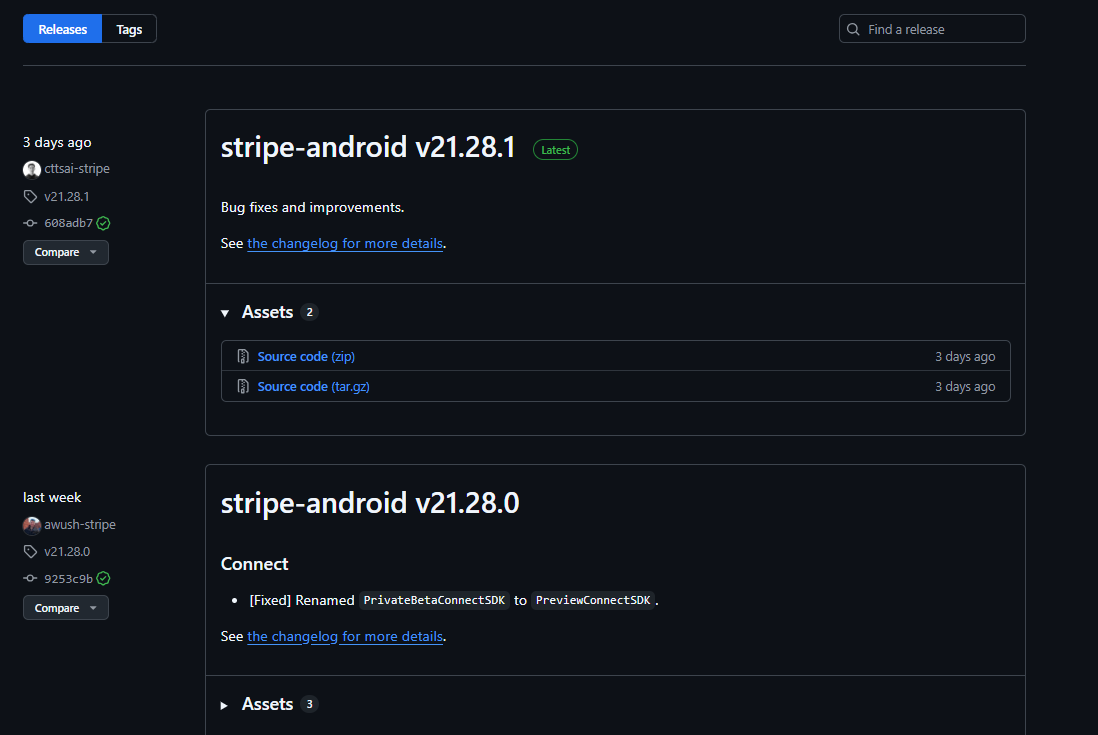
You can then use these versioning rules to manage your releases on a platform like GitHub.
For each new version, you should also create a formal release tag and publish detailed release notes that document exactly what has changed, including new features, bug fixes, and any breaking changes.
That can look something like the following image.
Essentially, making sure you have a thoughtful release and distribution strategy is what bridges the gap between a finished SDK and a widely adopted tool.
By following our tips, you can provide a professional and reliable SDK experience that encourages devs to trust your product.
Once you’ve released your SDK, stopping there won’t do.
To achieve a truly robust and successful product, you need a clear strategy for continuously monitoring and updating your SDK.
One of the most valuable things you can do is set up a way to gather and make use of user feedback.
Better yet, you can establish an entire community forum where developers can interact with each other and your team, like Calendly has done for its SDK.
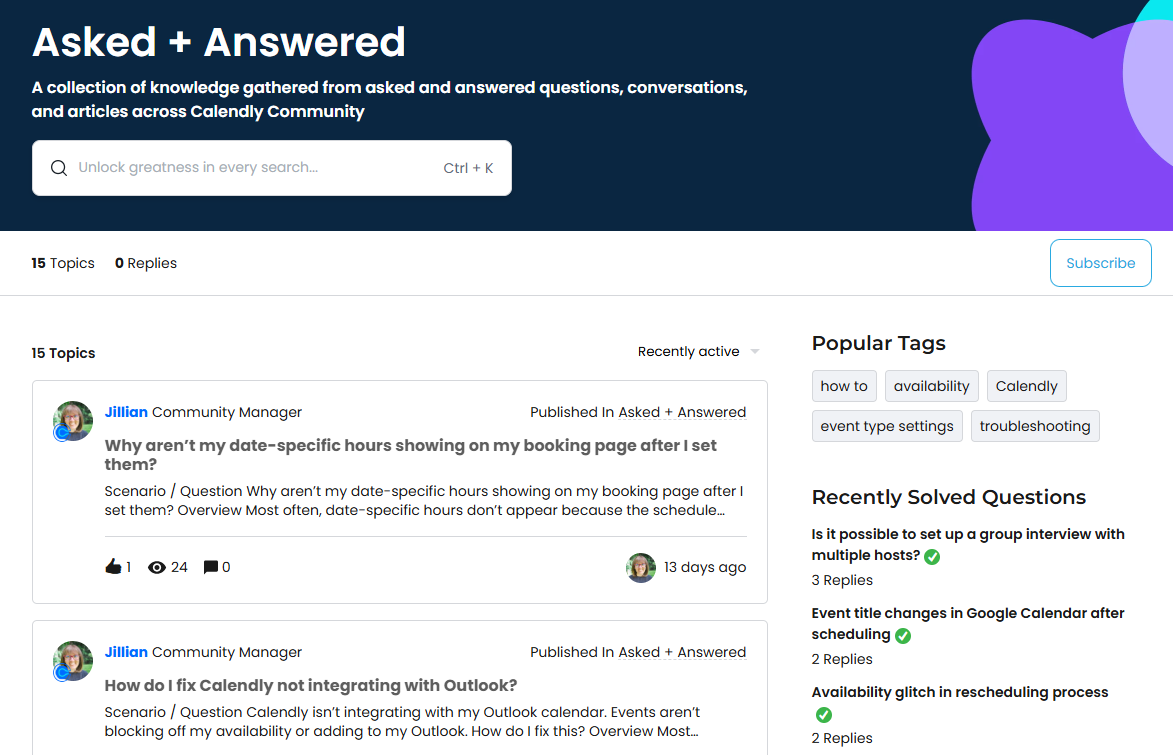
Here, developers can ask questions, get answers, and find solutions to make their lives easier.
At the same time, these questions provide invaluable guidance on how you can update or refine your documentation and SDK resources.
Plus, with a community page, any widespread issues and concerns that are raised can be quickly noticed and monitored by your team, allowing you to be more proactive.
Tracking SDK problems is worth exploring a bit more.
After all, bugs with your product are bound to come up, and how quickly and effectively you address them is crucial for maintaining developer confidence.
You want to have a great bug-capturing method that can help you track issues and allow developers and testers to easily send you detailed bug and feedback reports about things you should fix or improve.
One such tool is Shake.
Shake is a bug and crash reporting SDK that developers can integrate into their apps to report issues without leaving the app.
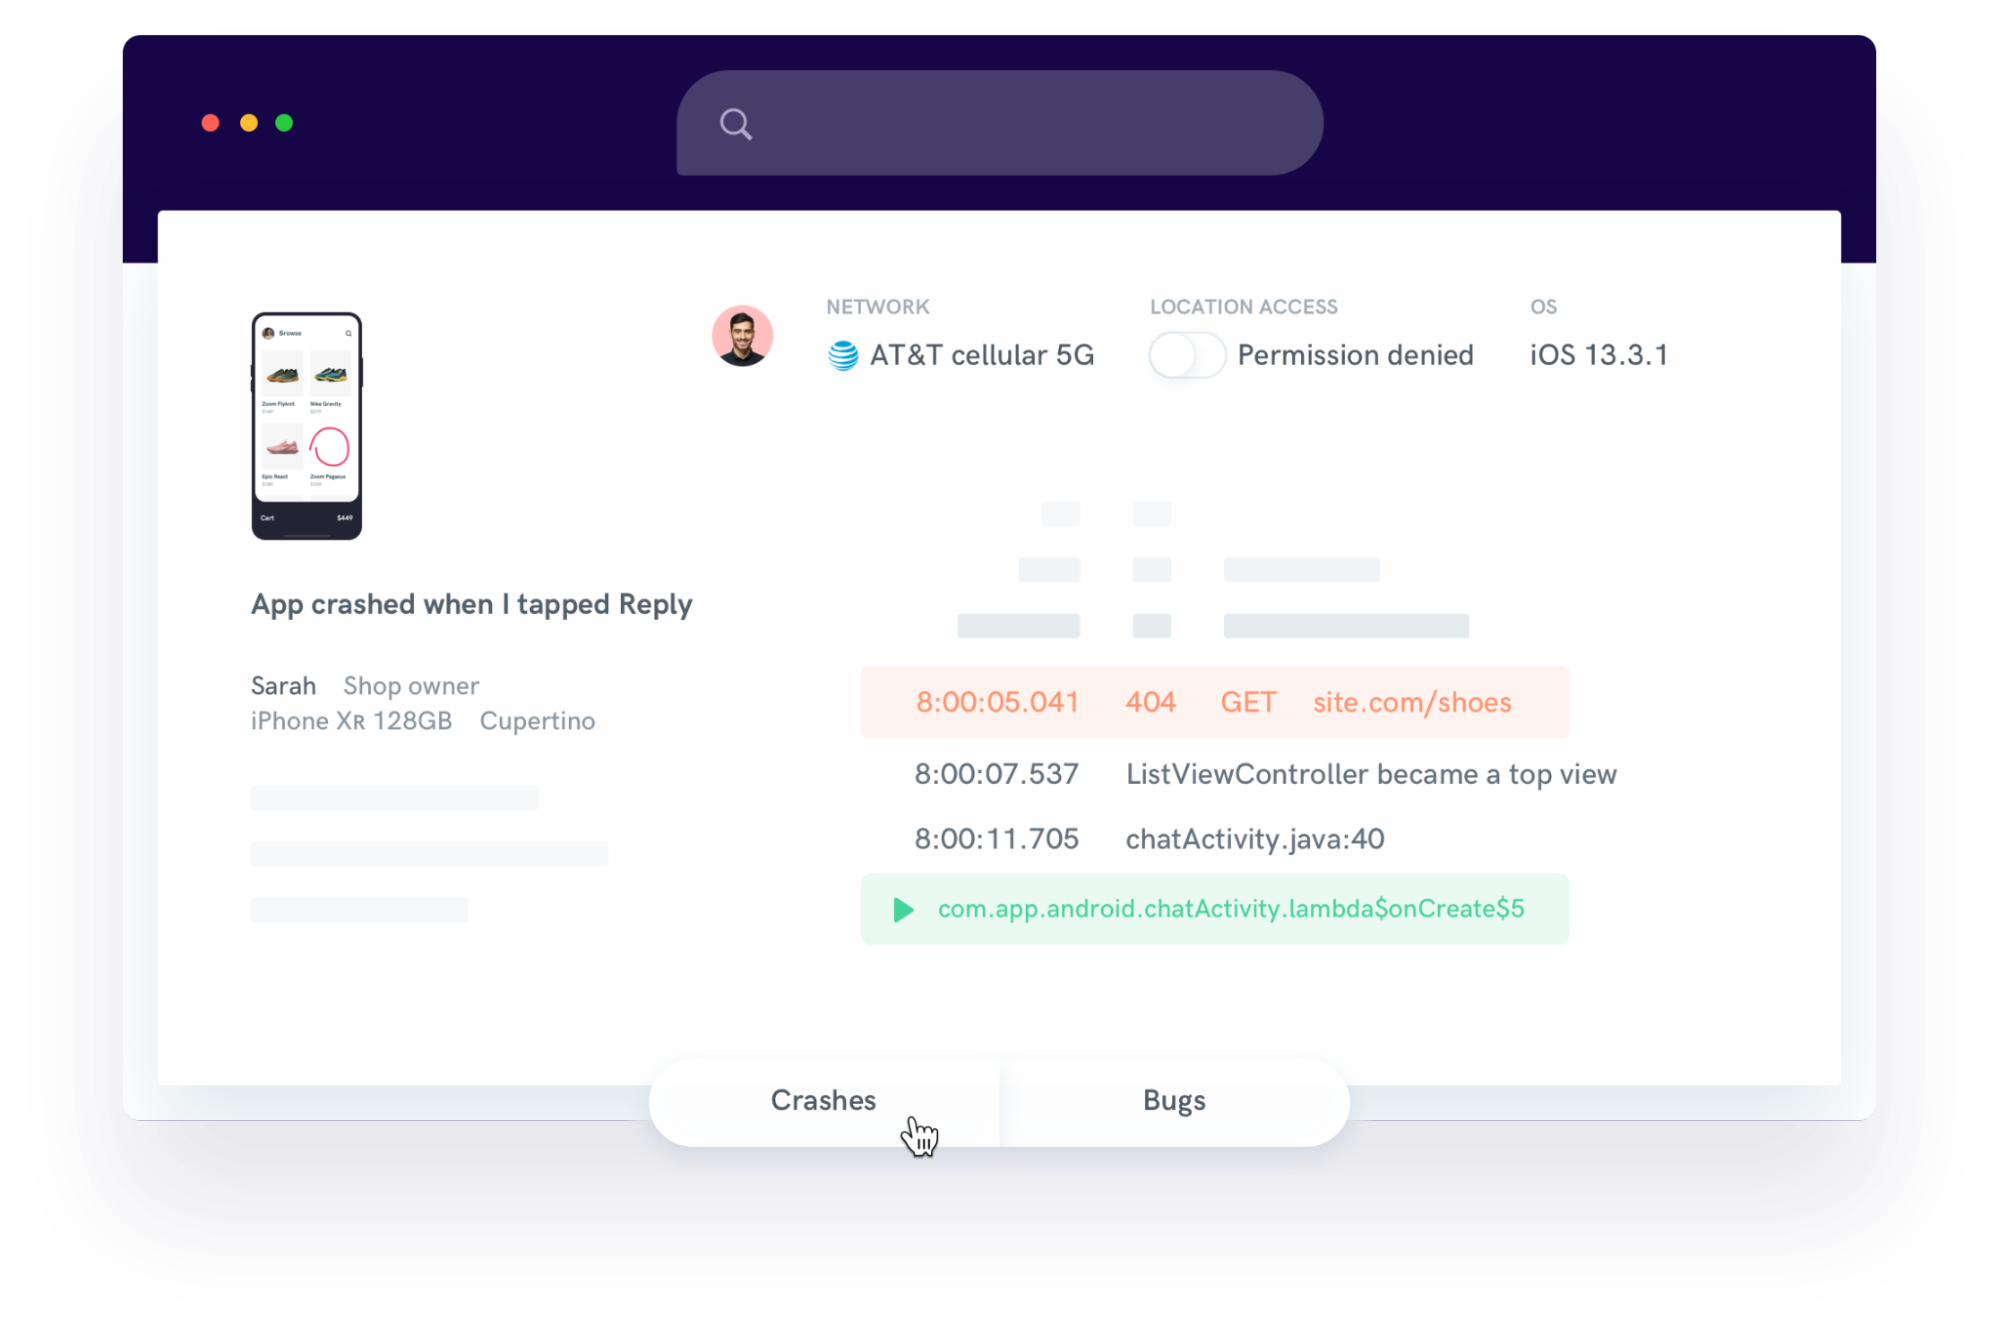
With just a shake of the device or tap of a button, developers can send a comprehensive bug report with over 70 different metrics automatically attached.
These include:
This rich, contextual data helps your team understand the exact conditions of a bug, allowing you to reproduce and fix it much faster.
Now, it’s important to note that a tool like Shake is designed to track issues that surface in the host application.
For tracking problems within your SDK’s own internal operations, you should also integrate a dedicated error monitoring service directly into your SDK’s code.
This allows you to capture and analyze internal exceptions and performance bottlenecks that might not be visible to the end-user.
In short, by establishing a combination of direct user feedback channels and robust bug tracking systems, you can ensure that your future SDK updates are relevant, address any defects, and continuously improve the developer experience.
That covers the complete lifecycle of building an SDK.
We’ve walked through everything from designing your API and writing the code to testing, releasing, and maintaining your product.
Hopefully, you now have a clear and actionable framework for your own SDK projects.
Use these steps as your guide, and you’ll be well on your way to building a reliable and developer-friendly tool that stands out.
From internal bug reporting to production and customer support, our all-in-one SDK gets you all the right clues to fix issues in your mobile app and website.
We love to think it makes CTOs life easier, QA tester’s reports better and dev’s coding faster. If you agree that user feedback is key – Shake is your door lock.
Read more about us here.

Add to app in minutes

Doesn’t affect app speed

GDPR & CCPA compliant

Unexpected things pop up
Just like bugs in your app or web 🐛 Fix them now with just one reporting tool.